📣 Make sure you have Gravity Forms installed and enabled before beginning.
Download the latest version of the Gravity Forms Encryption plugin, install and activate. Here’s what it should look like once activated.

Now it’s time to Activate the License.
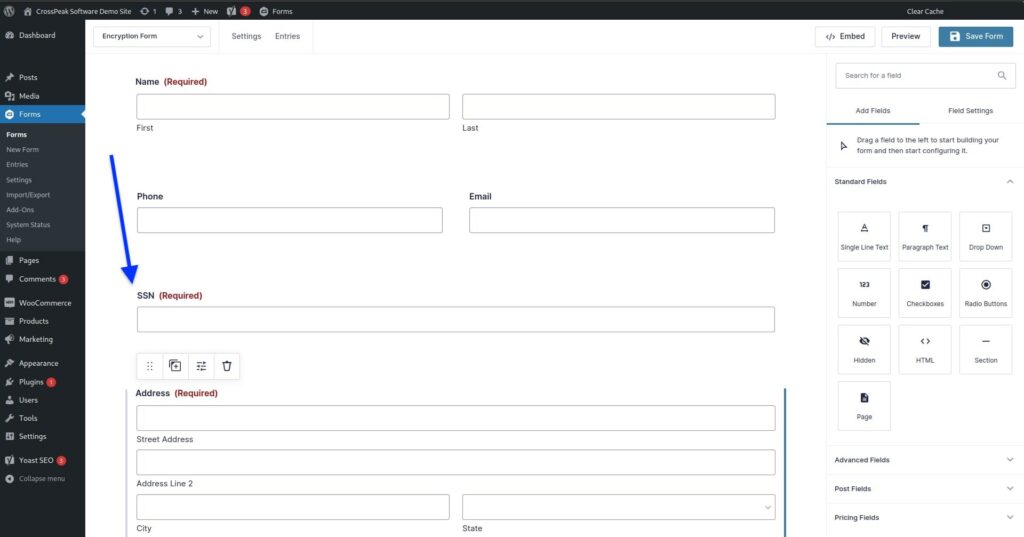
With the license activated, let’s test it on a form. First, let’s encrypt this required field for SSN.
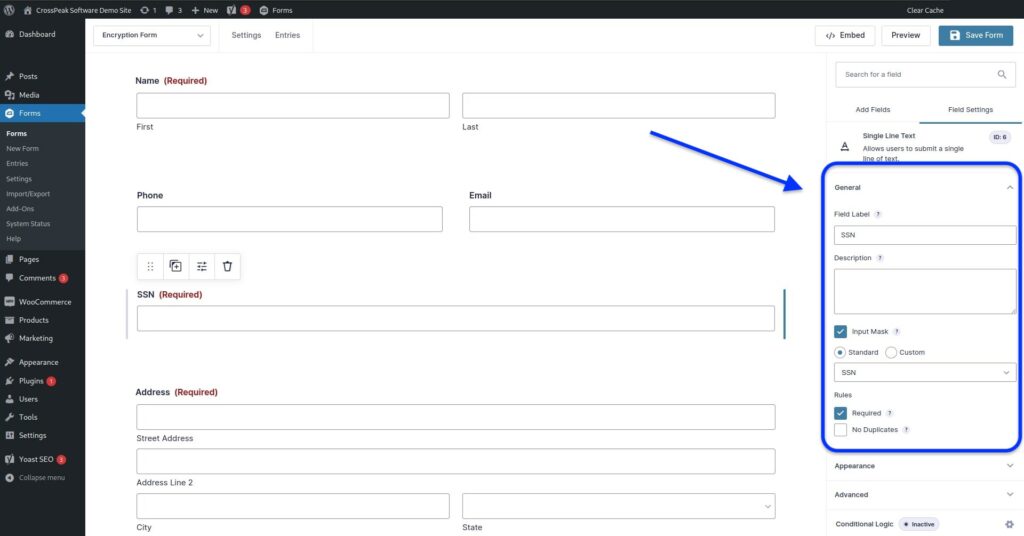
In the field’s general settings, you can choose the label and setup a Standard or Custom Input Mask. Here we select the Standard SSN option, and also set the field to be required.
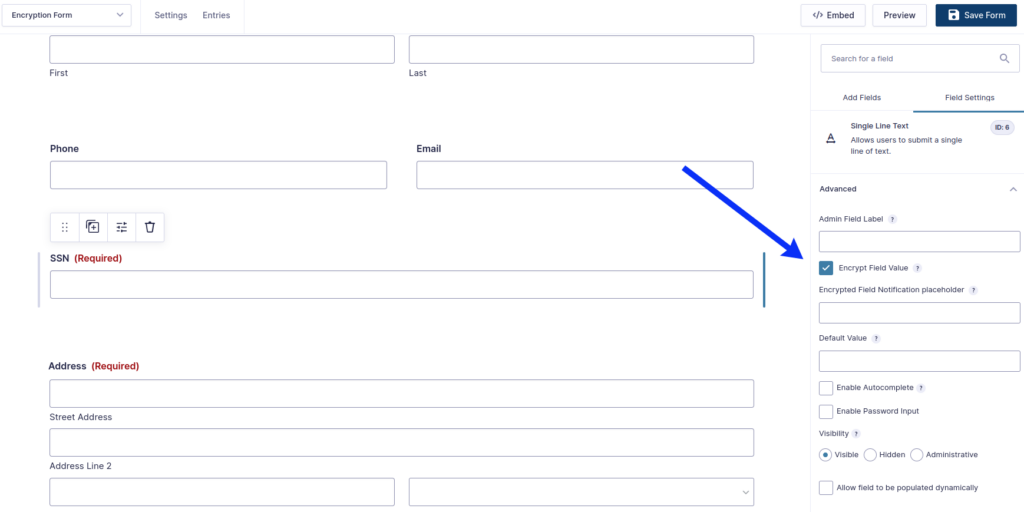
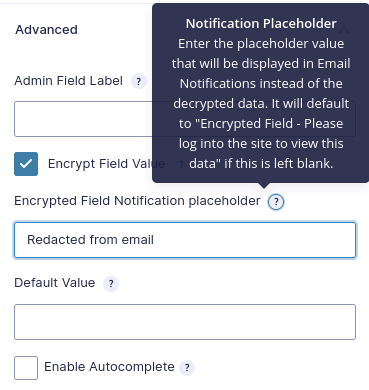
In the Advanced settings, we can then select to Encrypt the data in this field by clicking the “Encrypt Field Value” option.
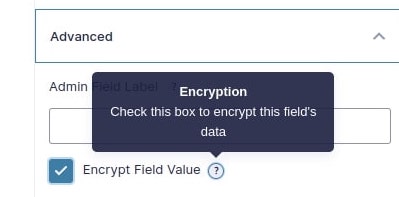
A close-up of the Tooltip for this option.
You may also enter text that will replace the encrypted text in any email notifications for the field.
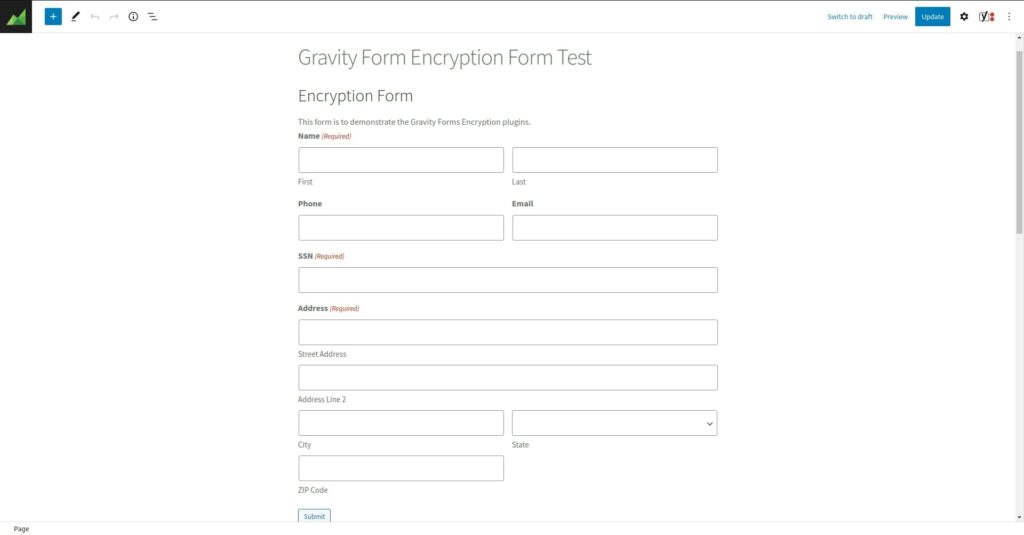
Here’s a view of the form from the WordPress backend.
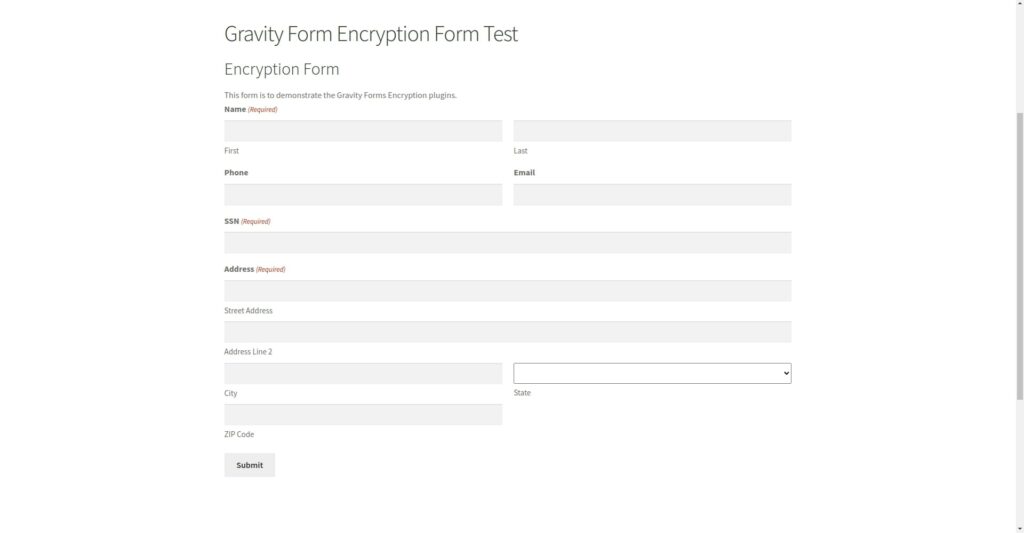
A view of an empty form from the frontend:
A view of the form on the frontend without the SSN encrypted:
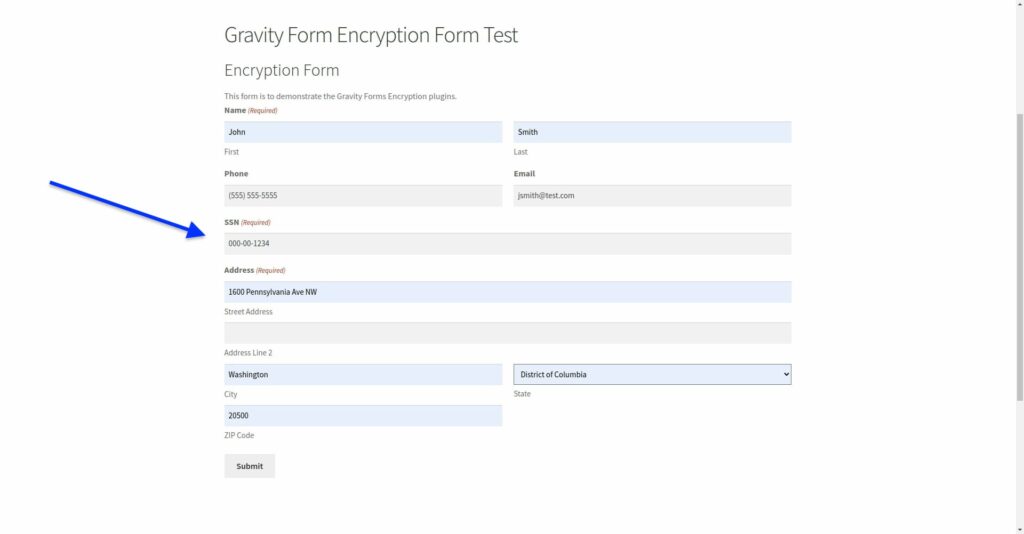
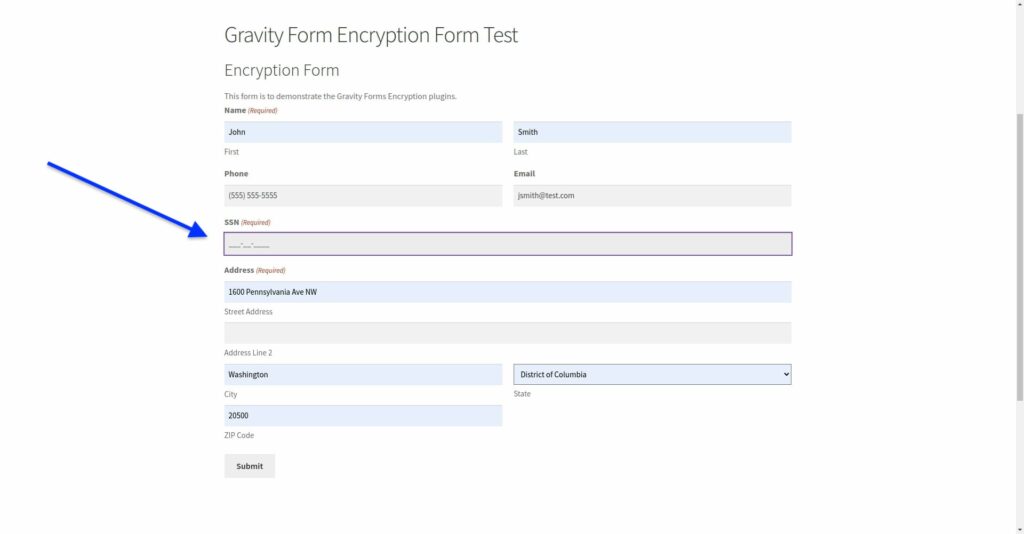
The form on the frontend with the SSN ready to be encrypted.
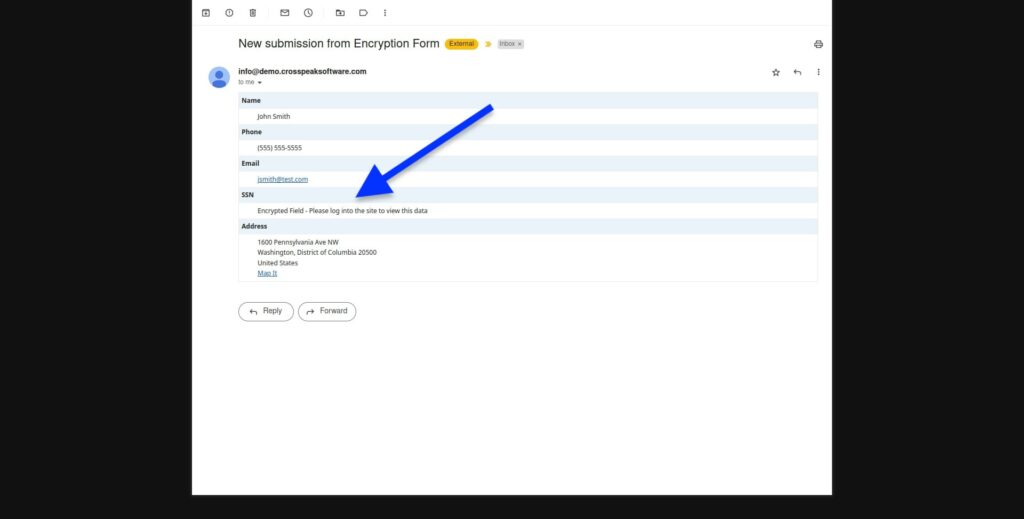
The email notification removes the SSN field from the email.
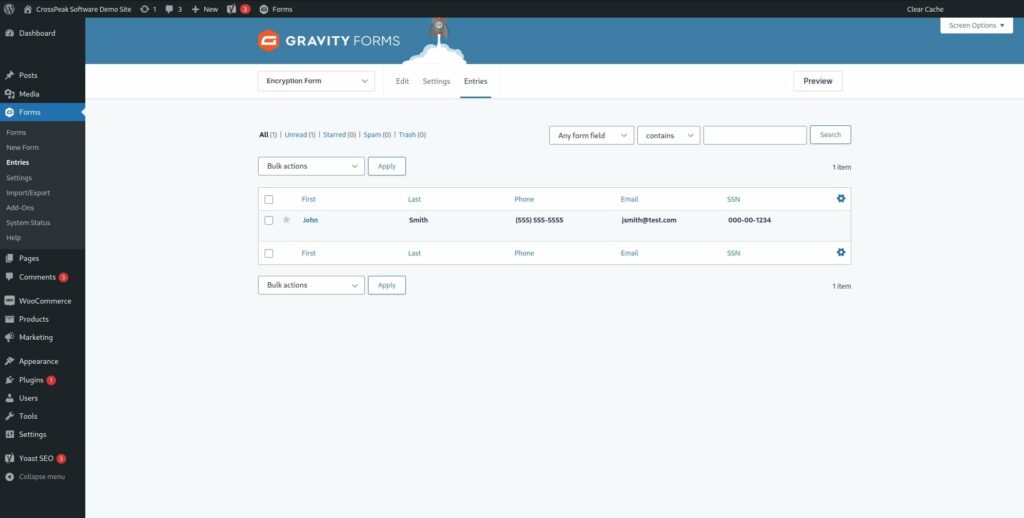
The form entry as it appears in the backend:
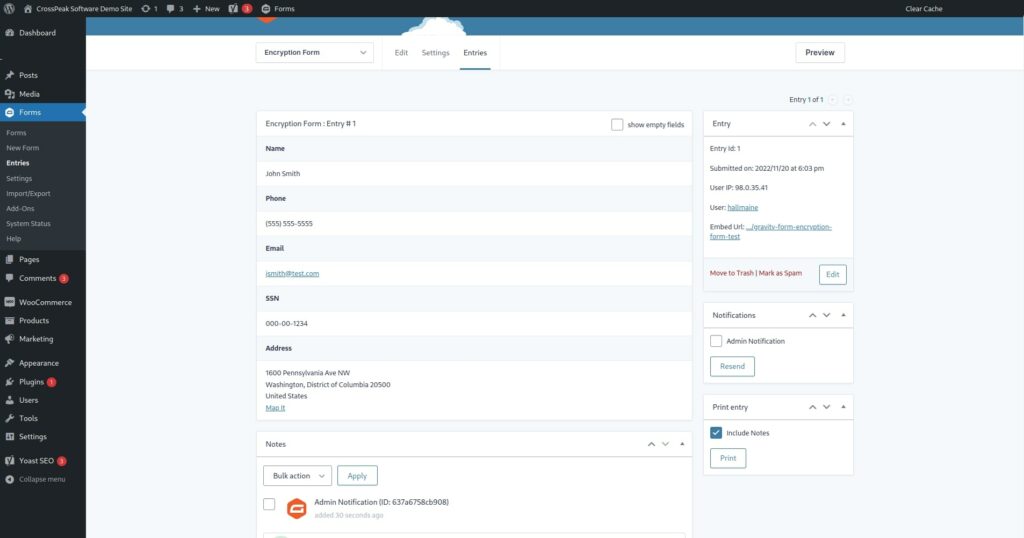
Notice the SSN entry on the backend only is visible.
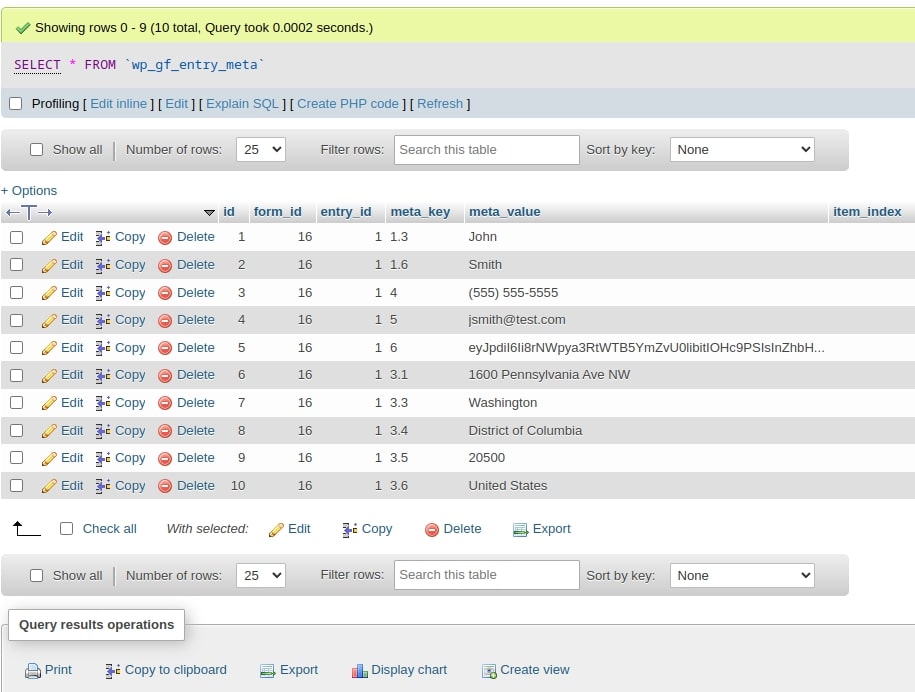
The SSN entry in the database is encrypted.
Backup your Encryption Key
The last thing is to make sure that you have a backup of your encryption key. The encryption key is stored at wp-content/gf_encryption_configuration.php so make sure that you have a backup of this file. If this encryption key is ever lost there will be no way to recover your data.
That’s it! Happy encrypting.
If you have any questions about using this plugin, feel free to contact us.