
📣 Before we begin please make sure you have installed Ninja Forms and have an understanding of Klaviyo profiles and Klaviyo Public and Private API keys.
Install Ninja Forms for Klaviyo
Download the WPForms Klaviyo plugin from my account, install and activate. Here’s what it should look like once activated.

Now it’s time to Activate the License.
Configuring Ninja Form for Klaviyo
Total Time: 15 minutes
Enter your Klaviyo API key
Go to Ninja Forms > Settings and scroll to the Klaviyo section and enter your Klaviyo Public and Private API keys.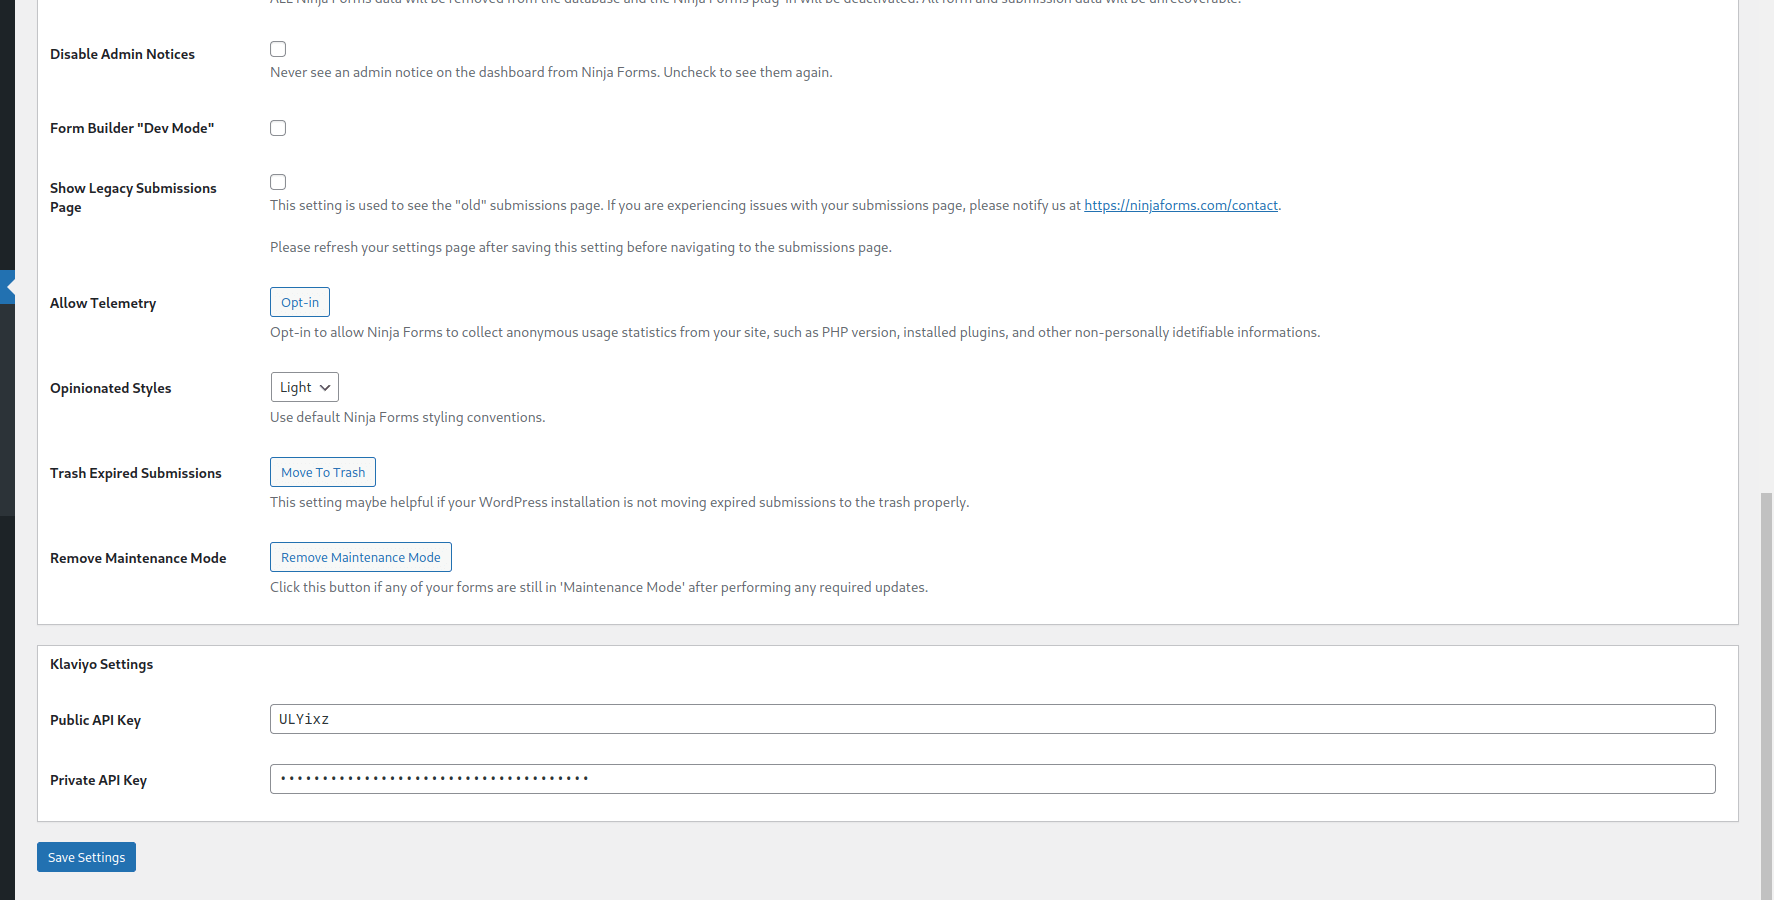
Create a Ninja Form
Go to your Ninja Forms dashboard and follow the steps outlined in: Creating a New Form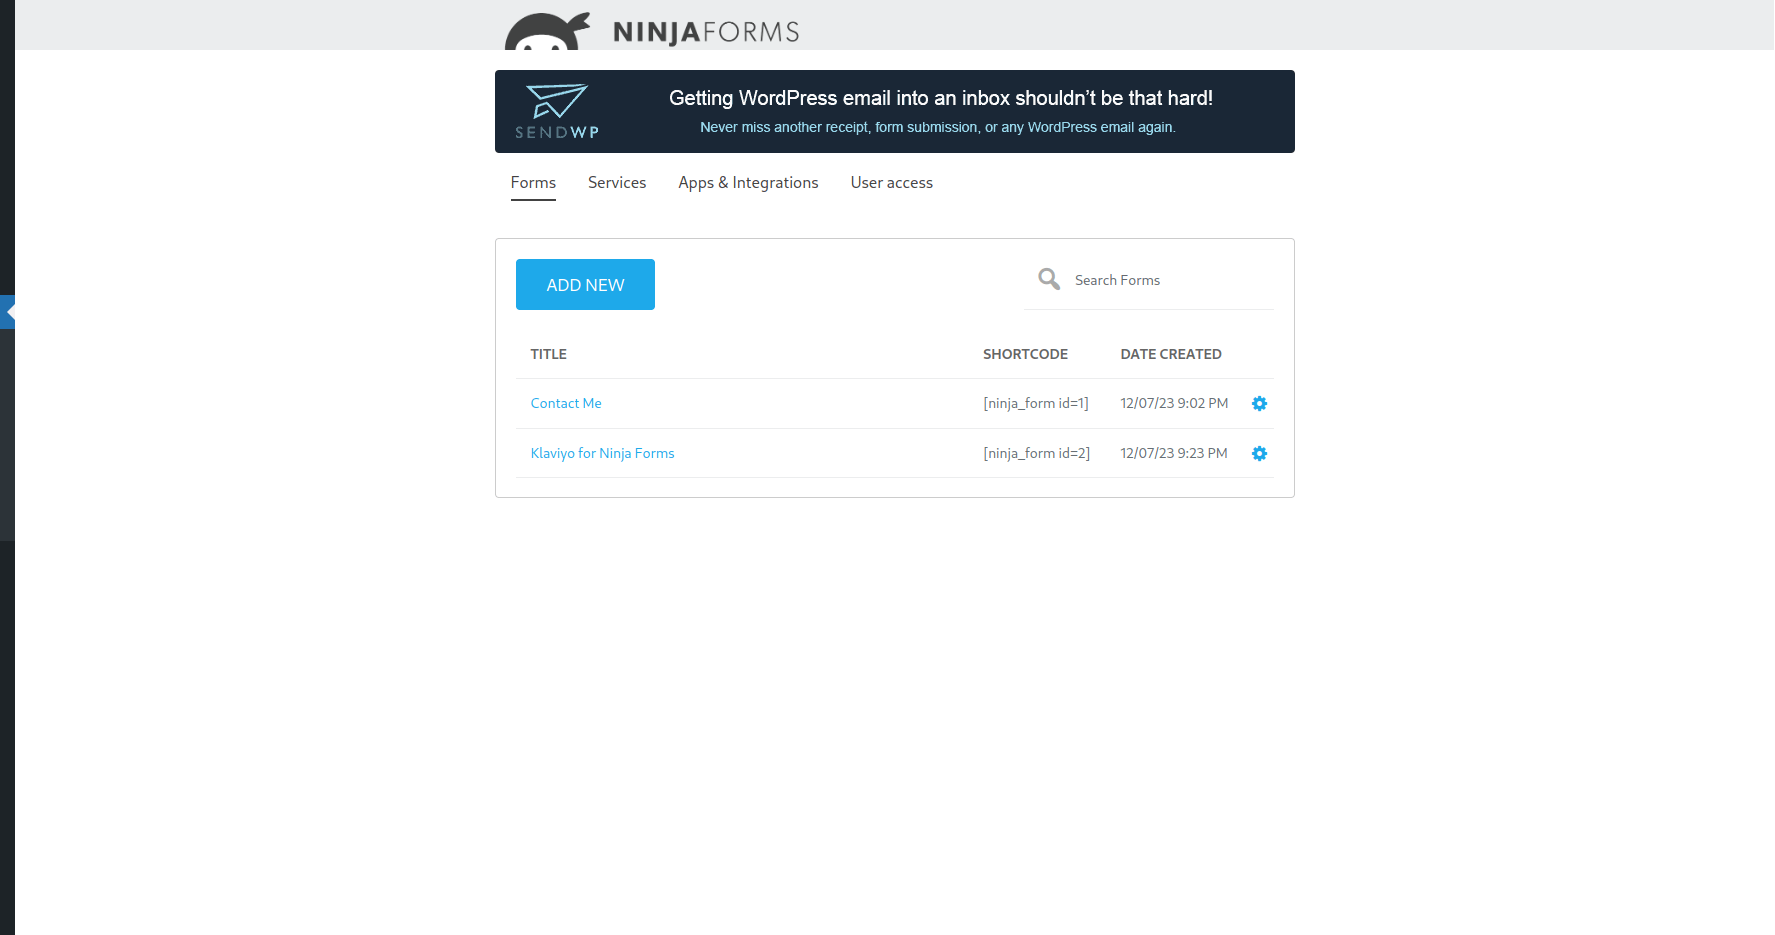
Add your form fields
Add form fields for the information you would like to collect and later map to your Klaviyo profiles.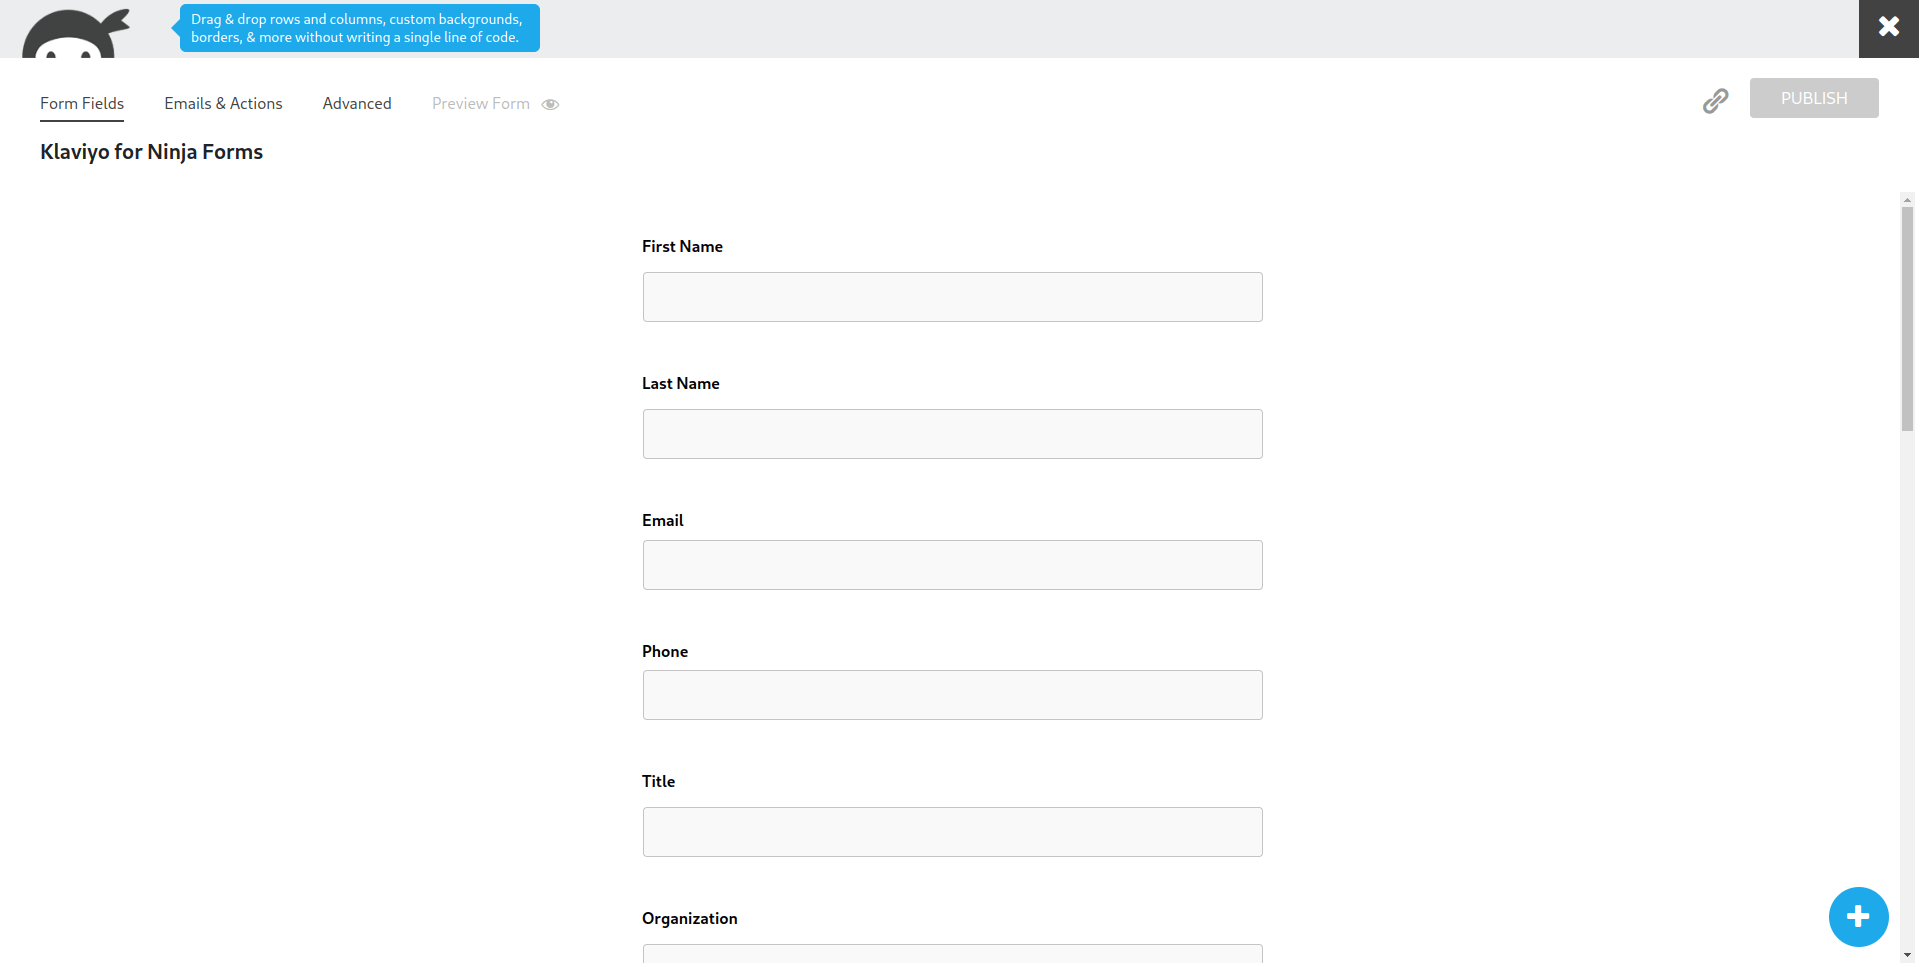
Add the Klaviyo Ninja Form action
After adding the fields, navigate to the Emails & Actions tab and select, Add new action and click Klaviyo.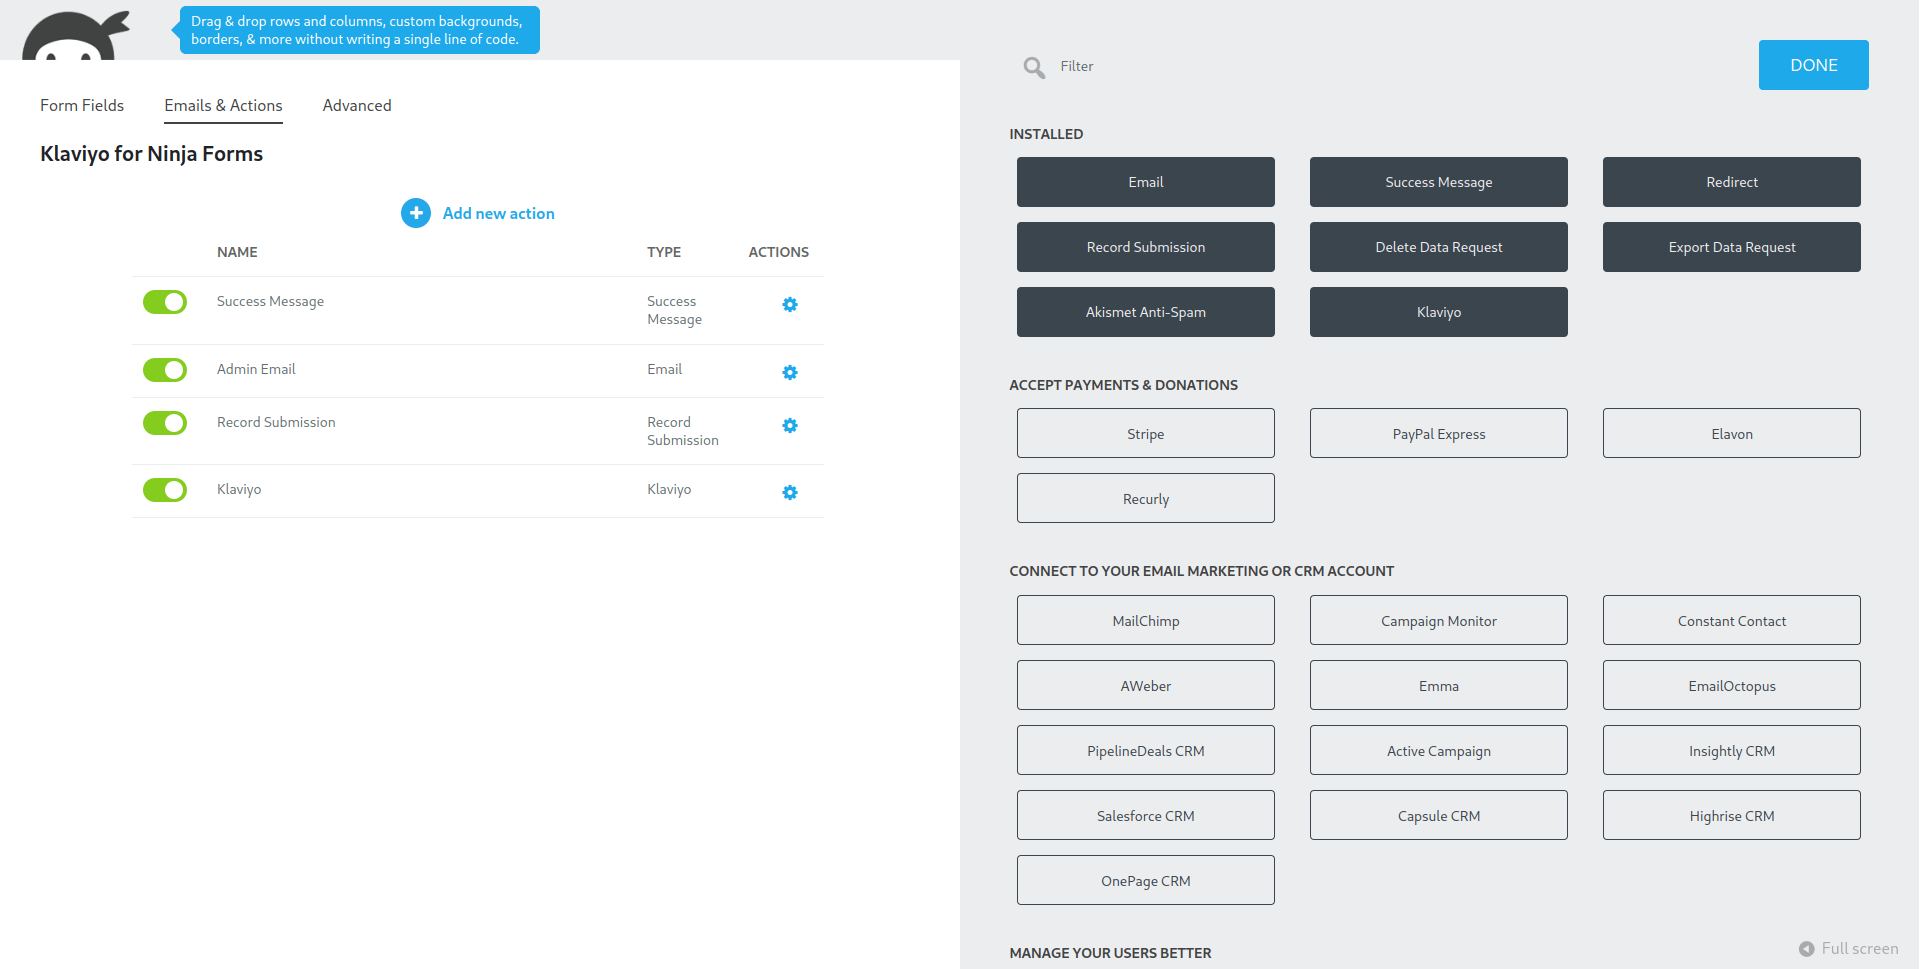
Name the action and select your list
Name the action describing the purpose for the Klaviyo action and select the list you would like the form submissions to be added. You can set up multiple actions to add the submissions to multiple lists. 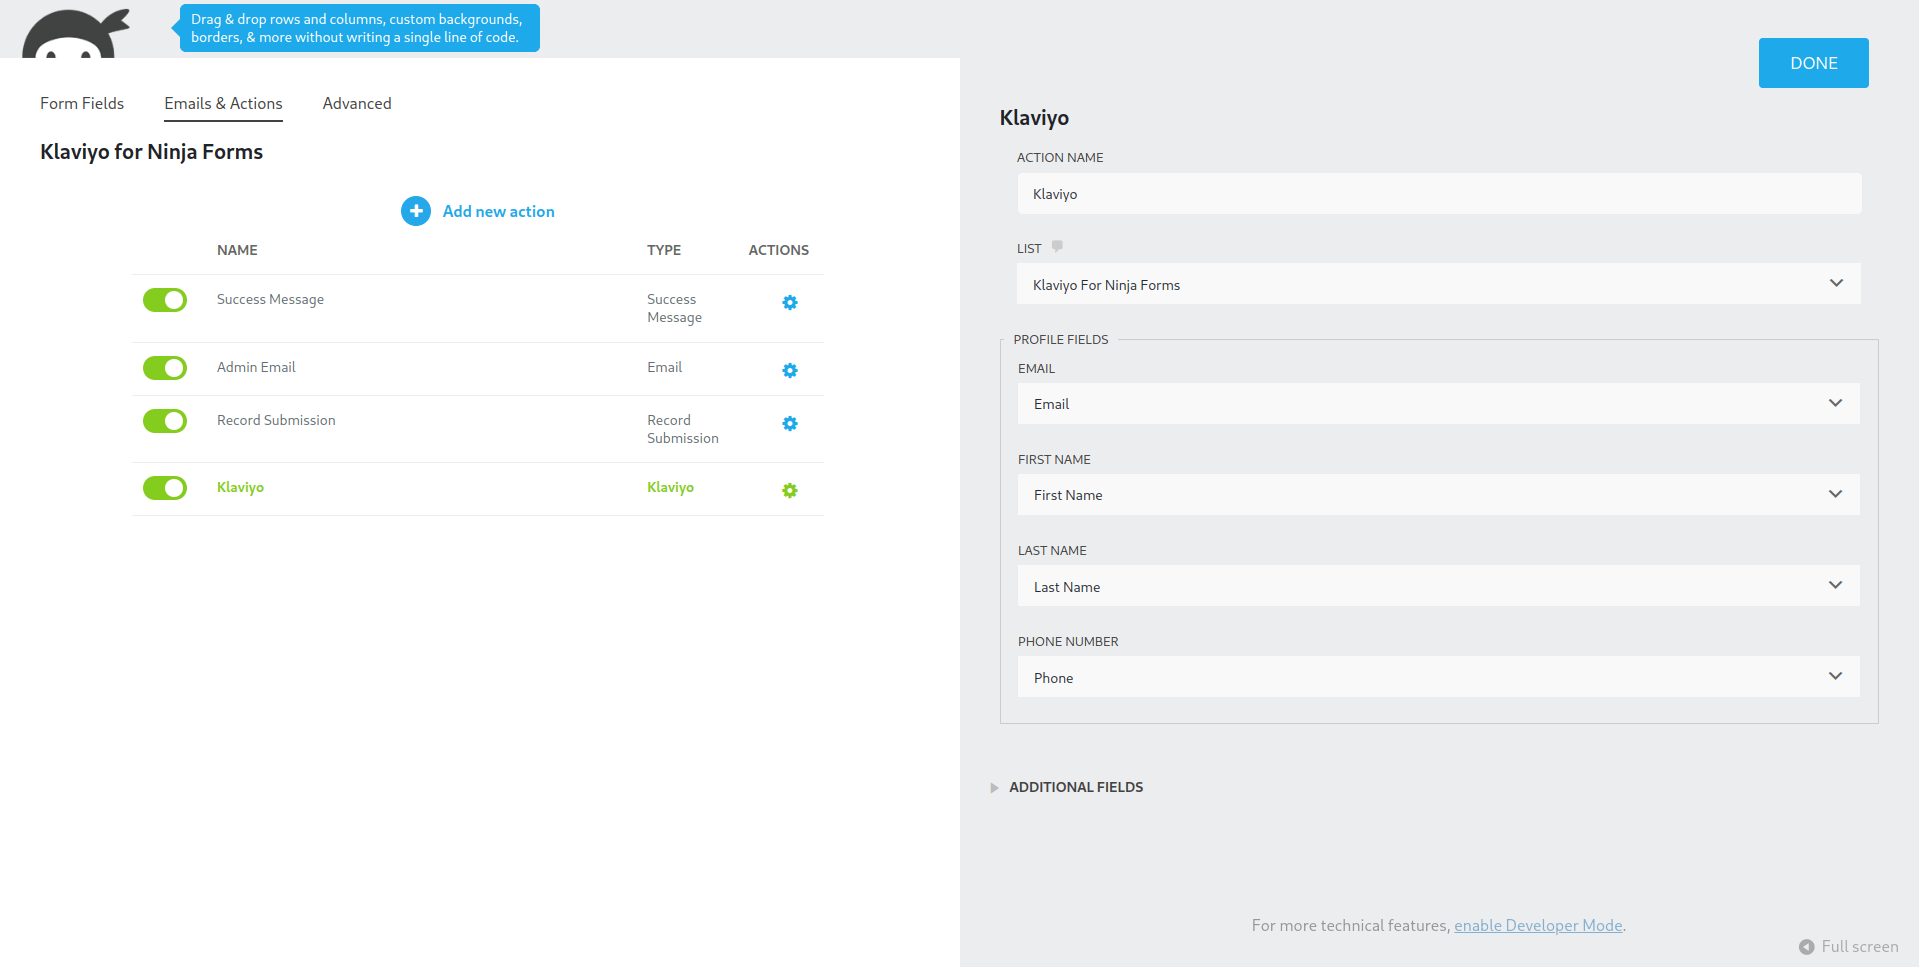
Map the basic Klaviyo profile fields
Map the fields on your form to the Klaviyo profile fields. Email is the only required field.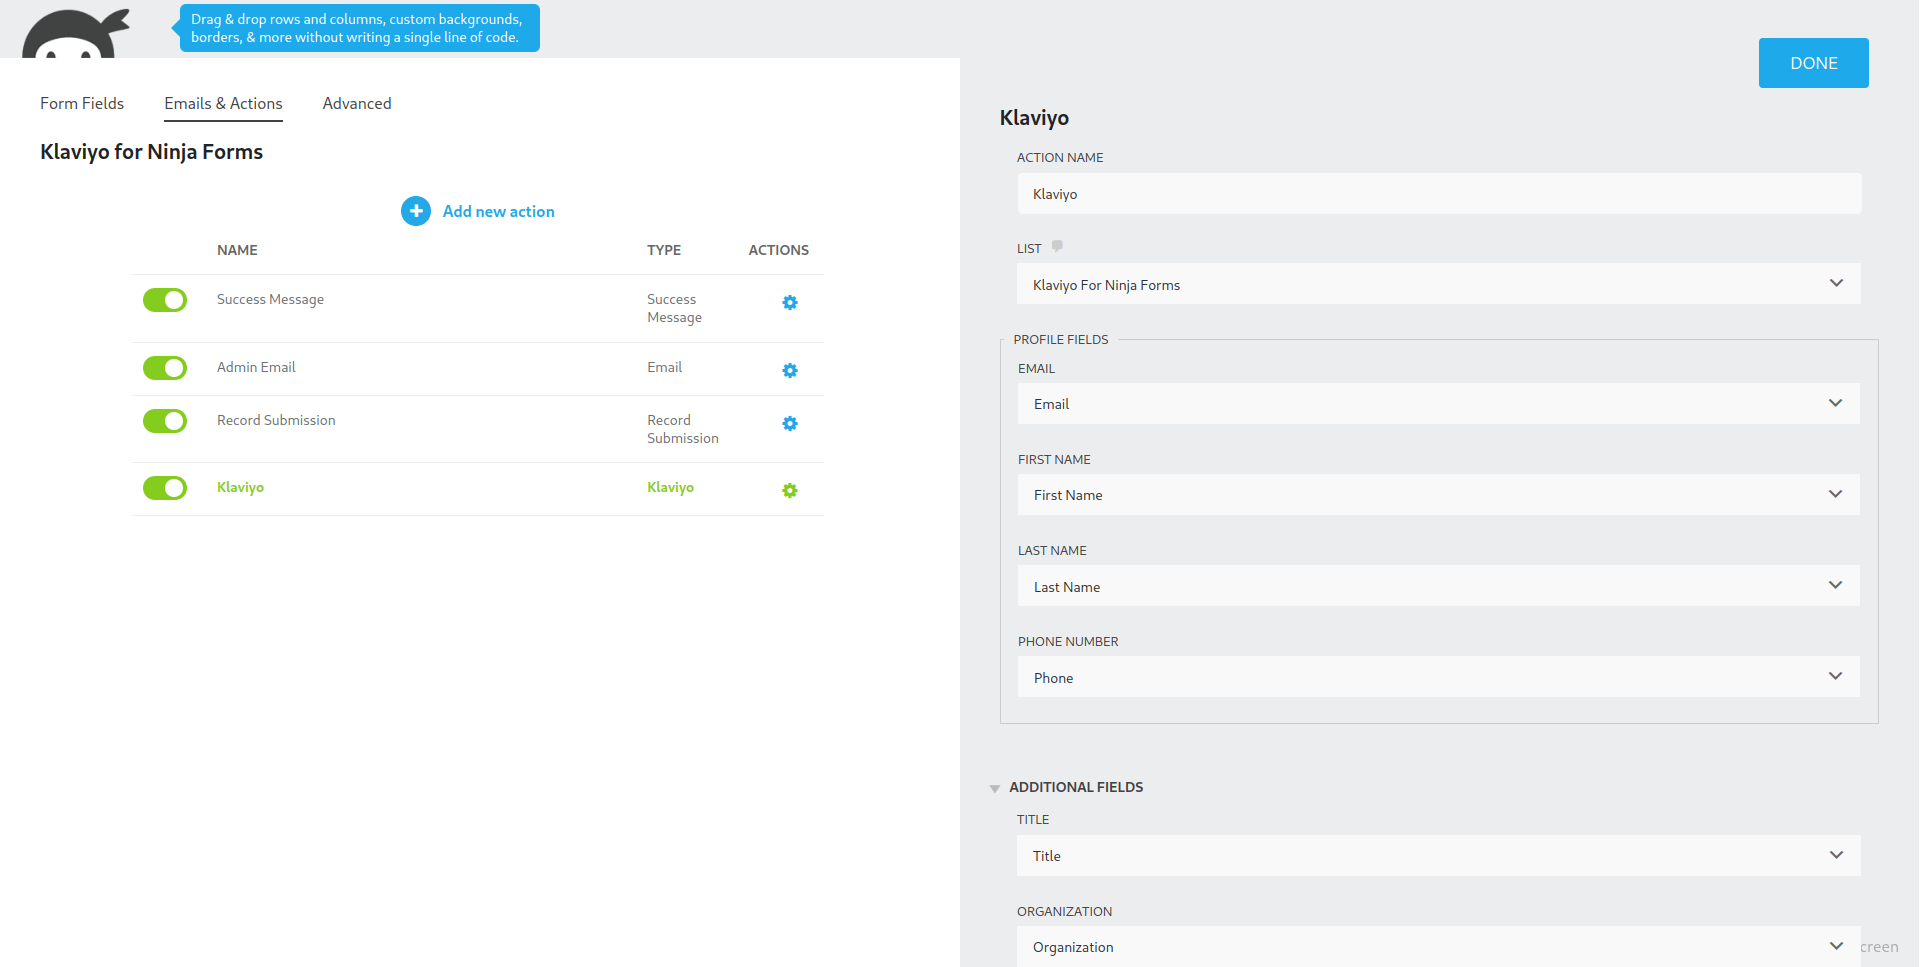
Map the additional Klaviyo profile fields
You can map the additional profile fields as well to add additional profile data for your signups to help make more advanced campaigns.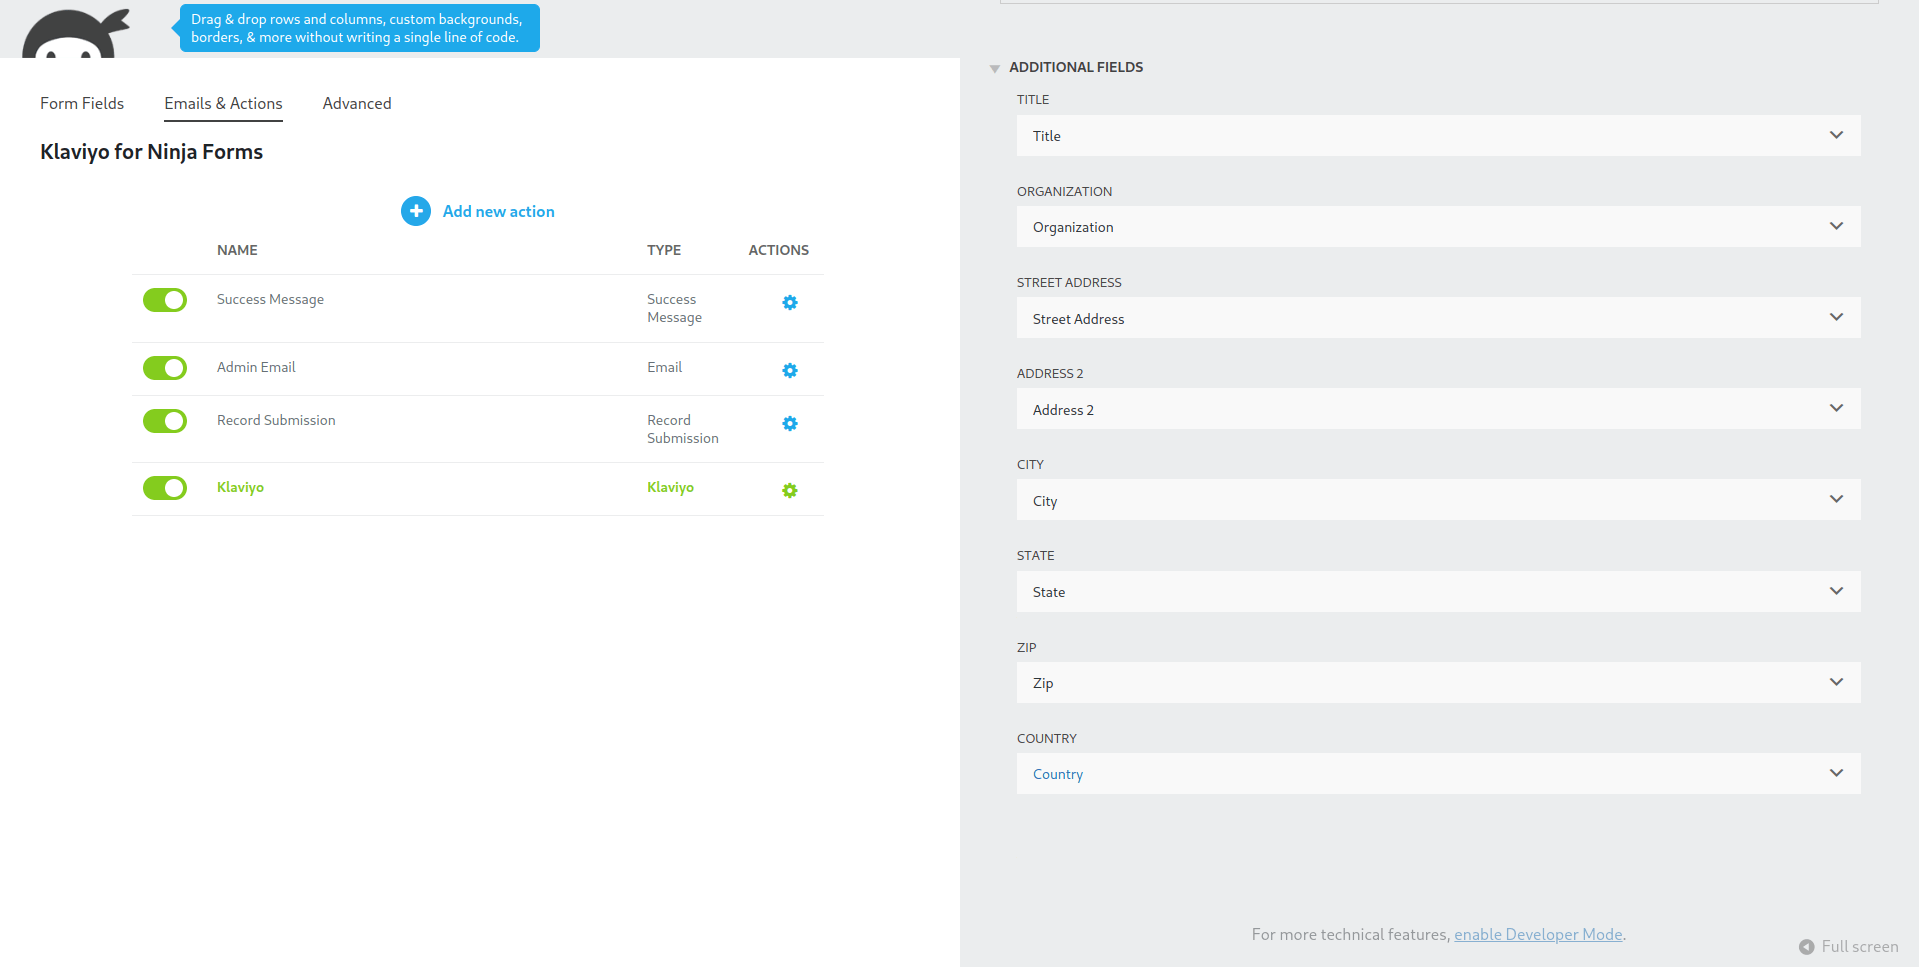
Publishing your form
There are multiple options for publishing a form to a post or page. You can follow the Publishing a Form to a Post or Page Ninja Forms documentation and make a test submission. You will see the submission appear in you Klaviyo account.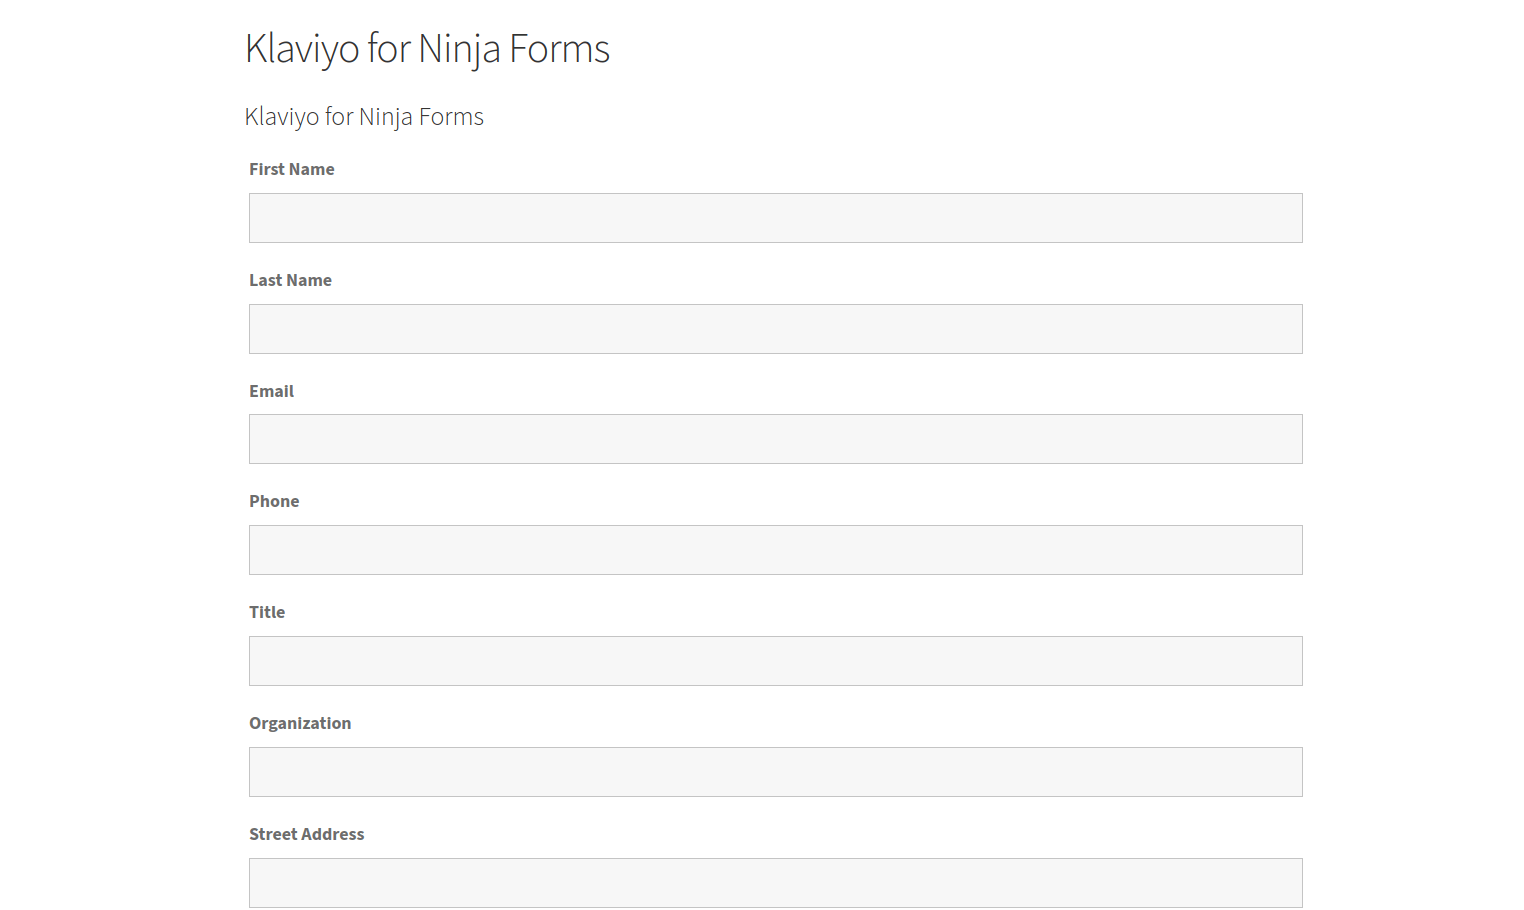
Questions & Support
Still have a question? Review our other documentation for the Ninja Forms for Klaviyo plugin, or reach out with additional questions or feature requests.