📣 Make sure you have WooCommerce installed and enabled before beginning.
Download the WooCommerce Estimated Delivery Dates plugin from my account, install and activate. Here’s what it should look like once activated.

Now it’s time to Activate the License.
With the license activated, to get started using this plugin first go to WooCommerce settings and access the Shipping tab. Go to Shipping zones and select a shipping zone.
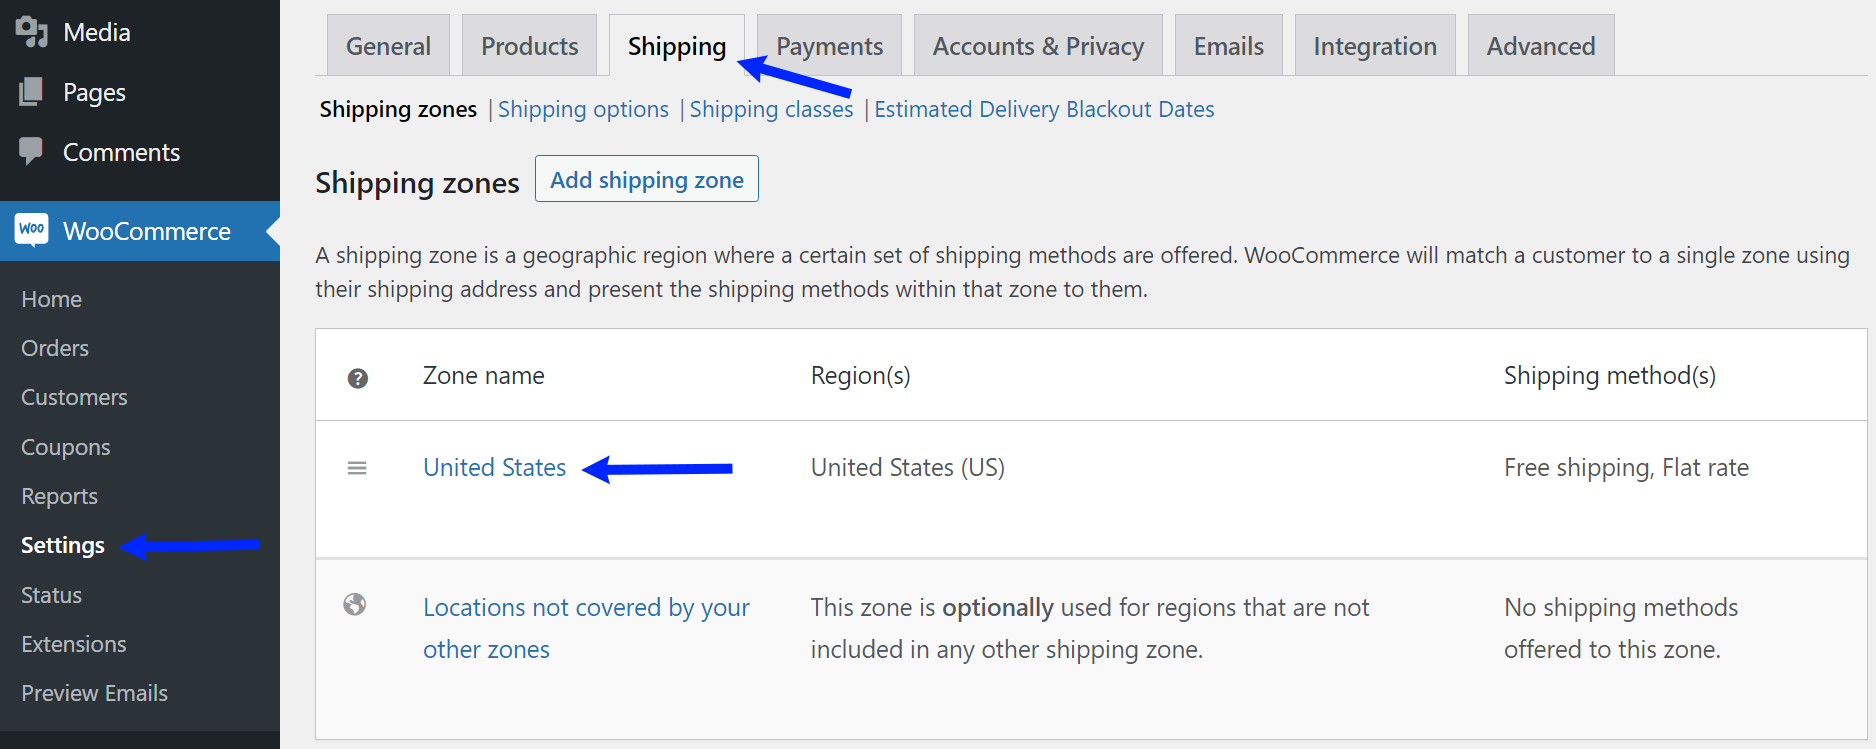
Choose a shipping method to begin adding custom data for calculating the estimated delivery date for that shipping method.
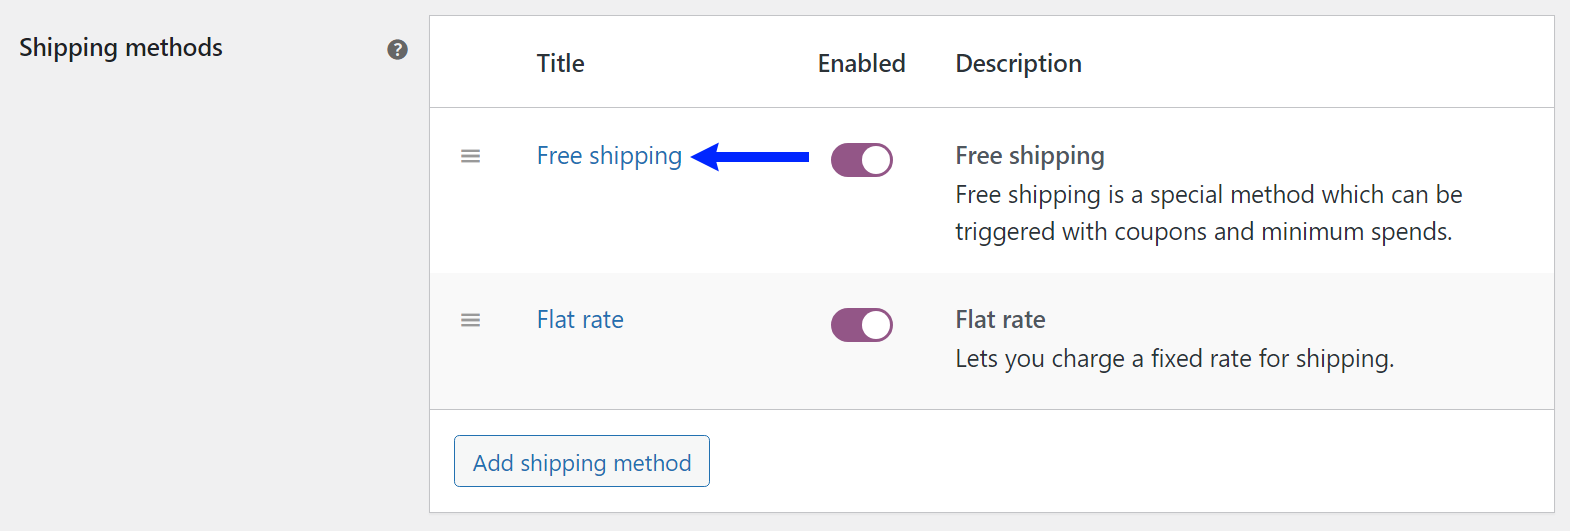
The settings for calculating an estimated delivery date for a shipping method are included in the shipping method settings modal.
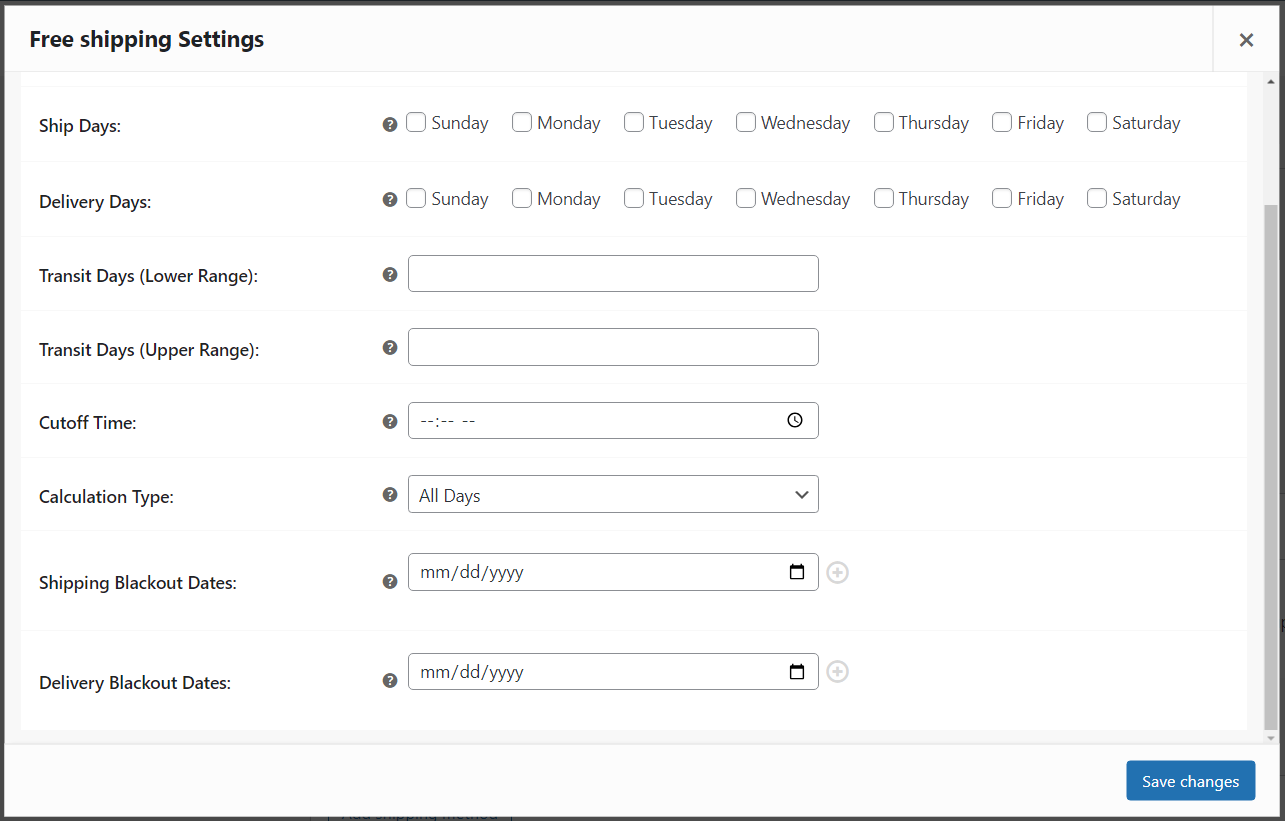
Ship/Delivery Days
Choose which days of the week are available for shipping/delivery.

Transit Days
The range of days the item will spend in transit. If there is no range, set the lower and upper values to the same number.

Cutoff Time
The cutoff time for an order to be considered eligible for shipping that day.

Calculation Type
Choose if the transit time should be calculated with All Days or Business days only.

Shipping/Delivery Blackout Dates
The dates that are not available for shipping/delivery.
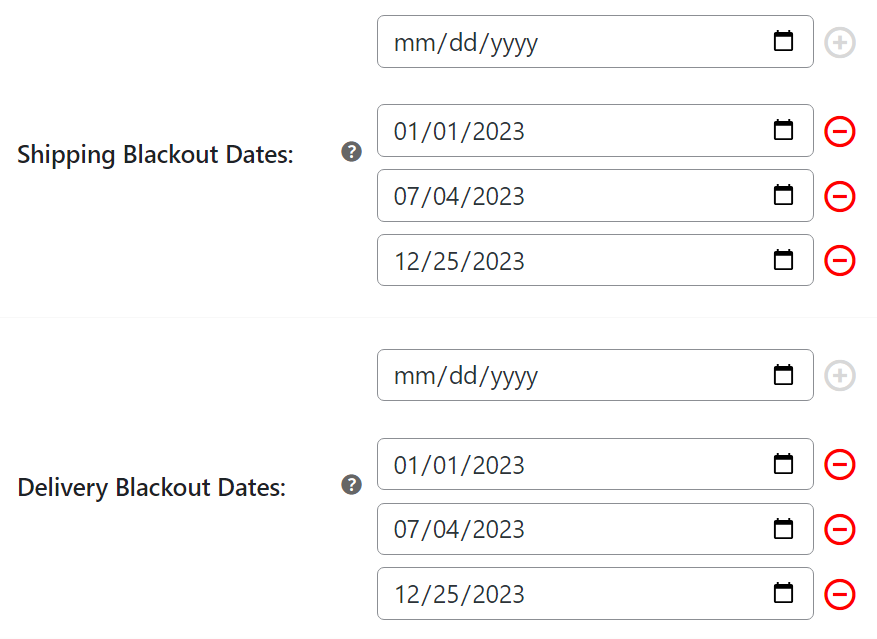
For shipping and delivery blackout dates that are not specific to a shipping method, global blackout dates can be set in the “Estimated Delivery Blackout Dates” section.
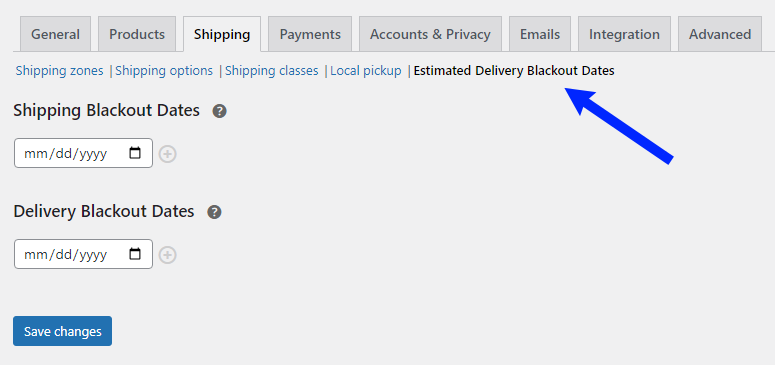
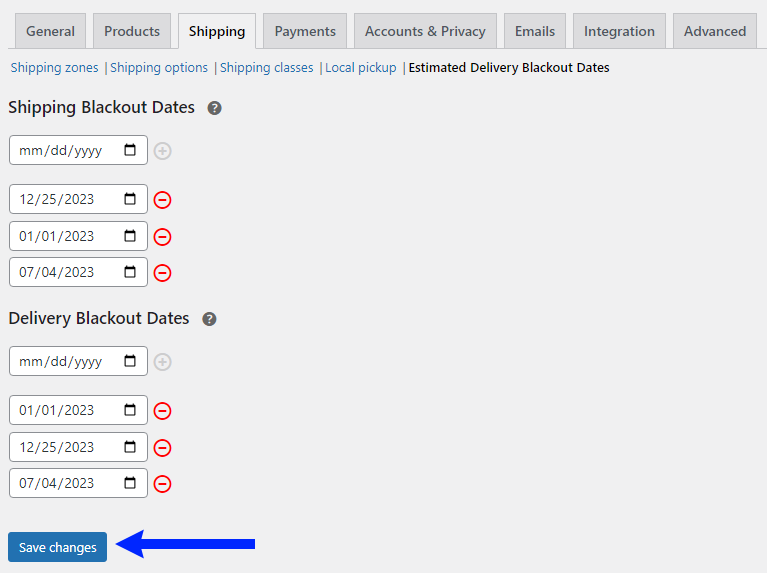
Enter any shipping and delivery blackout dates and click “Save changes”.
After adding custom data for calculating an estimated delivery date, the estimated delivery date will be displayed at various places in the checkout process.
Cart
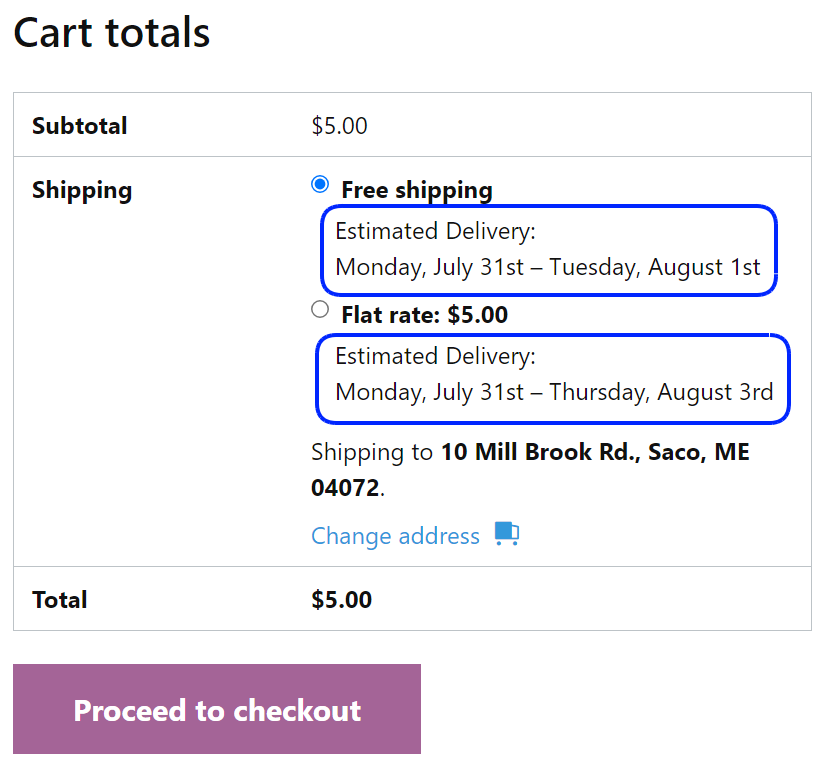
Checkout
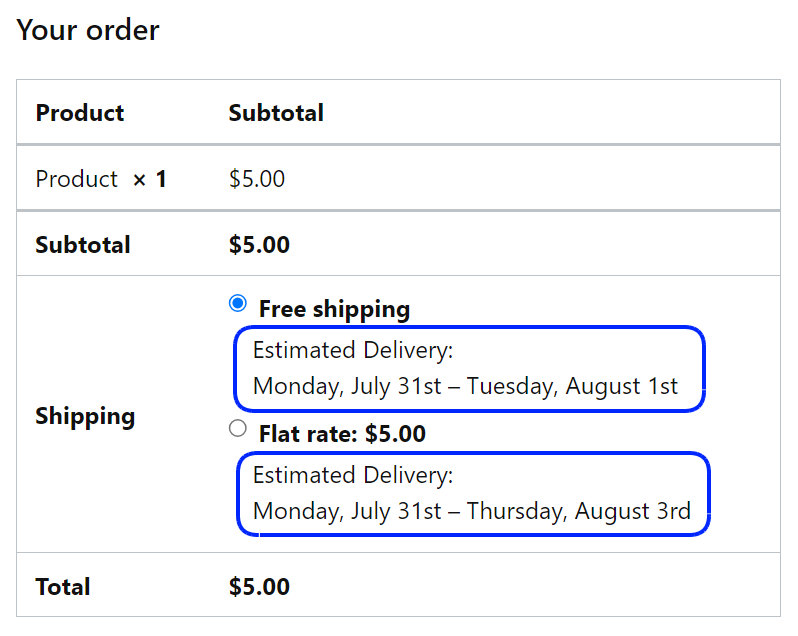
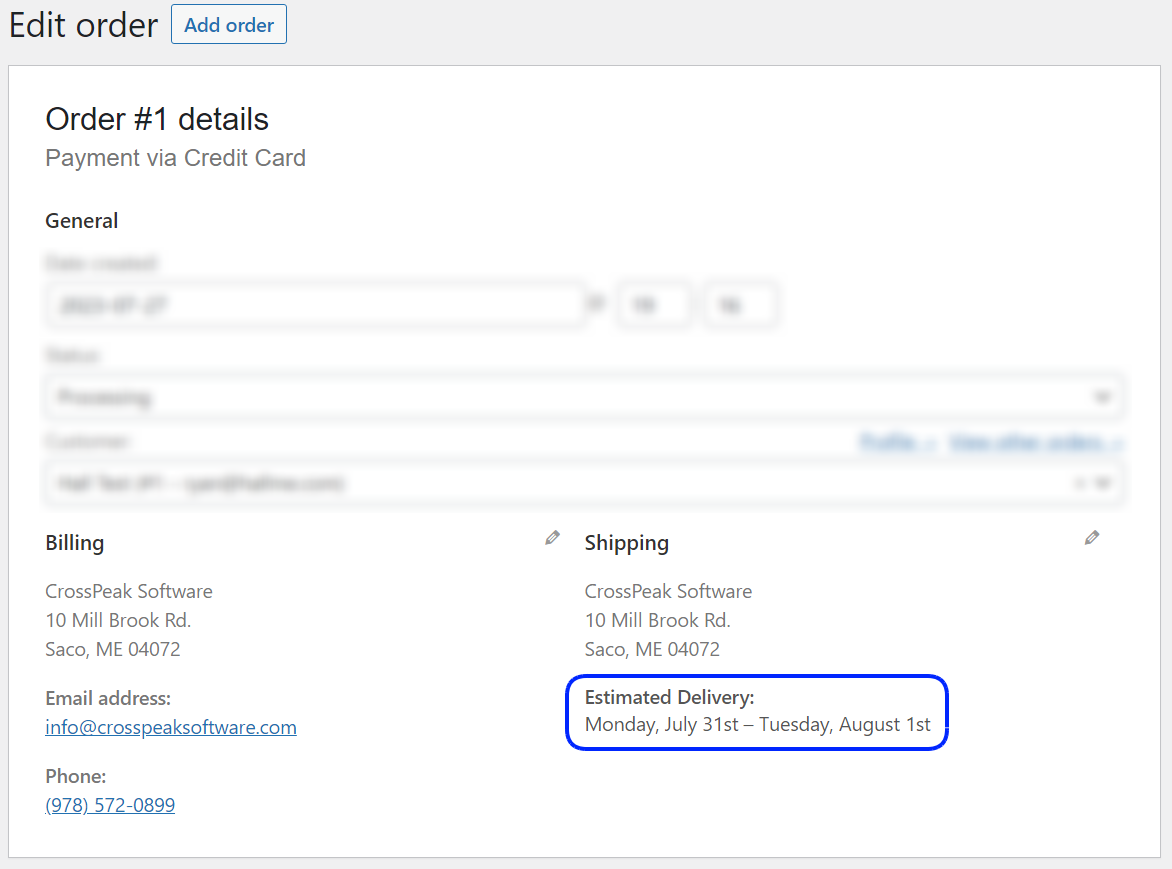
Order Details
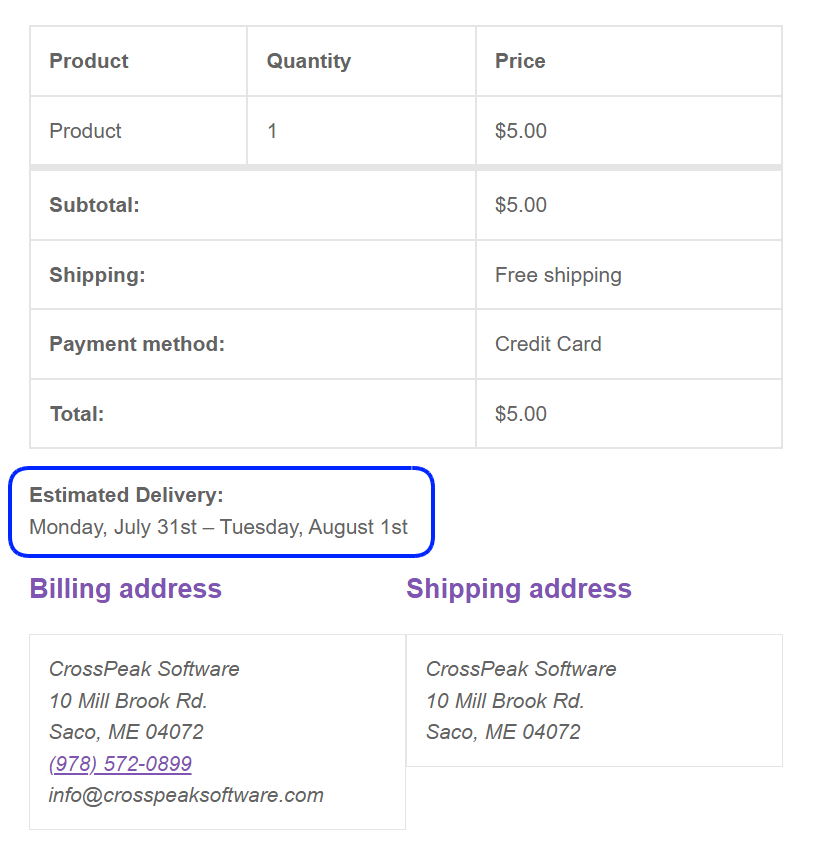
Order Emails
That’s it! You now have full control over the calculation of estimated delivery dates for your WooCommerce orders. If you have any questions about using this plugin, feel free to contact us.