
Installation Guide
To install the Product Video Gallery for WooCommerce plugin on your WooCommerce website, follow these steps:
- Upload the Plugin:
- Log in to your WordPress dashboard.
- Navigate to Plugins > Add New Plugin in the left-hand menu.
- Click the Upload Plugin button at the top of the page.
- Click Choose File, select the plugin’s
.zipfile from your computer, and click Install Now.
- Activate:
- Once the installation is successful, click the Activate Plugin button on the screen.
How to Use the Plugin
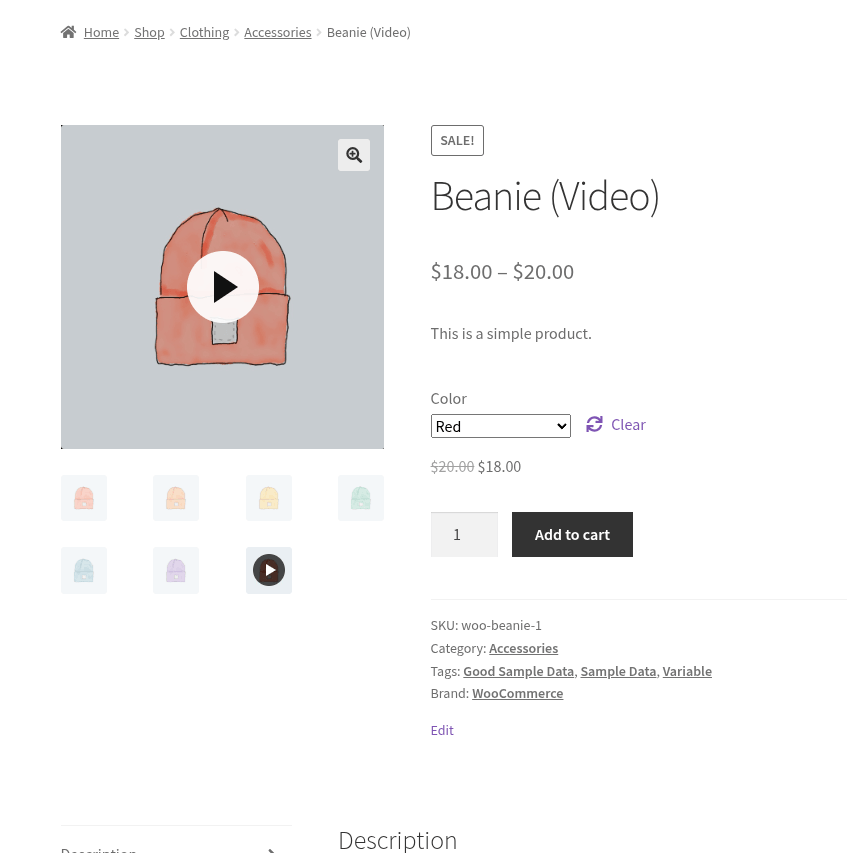
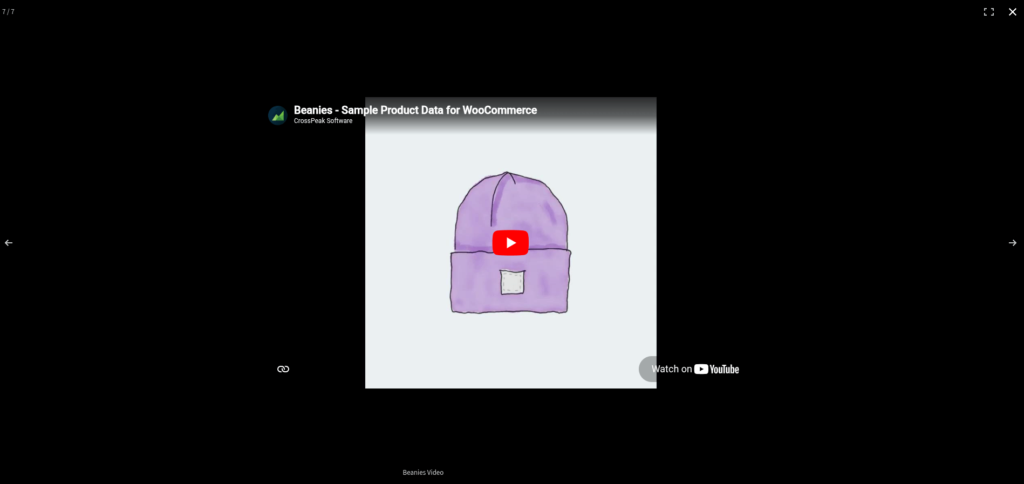
Product Video Gallery for WooCommerce extends the default WooCommerce product gallery to support videos. You can seamlessly mix regular images with YouTube or Vimeo videos to give your customers a richer viewing experience.
Follow these steps to add a video to your product gallery.
Prepare your videos
YouTube
To get the best-looking video on YouTube with the fastest processing times, you need to balance high quality with the platform’s preferred encoding standards. Here are the optimal export settings to use and exactly why they matter:
- Format: MP4. Why: It is the most widely compatible format and processes the fastest on YouTube’s servers.
- Video Codec: H.264. Why: It is the industry standard for web video, offering the most reliable balance between visual quality and file size.
- Audio Codec: AAC-LC (at 48 kHz / 384 kbps). Why: Guarantees high-quality, perfectly synced stereo sound.
- Resolution: Your native resolution (e.g., 1080p or 4K). Why: Keeps your video sharp. Exporting in 1440p or 4K actually forces YouTube to use its premium encoders (VP9 or AV1), making your video look noticeably crisper even for viewers on smaller screens.
- Frame Rate: Native frame rate (e.g., 24, 30, or 60 fps). Why: Prevents unnatural motion or visual stuttering caused by artificially adding duplicate frames.
- Bitrate: Variable Bitrate (VBR) at 8–12 Mbps for 1080p, or 35–68 Mbps for 4K. Why: Ensures the video has enough data for crisp, high-motion scenes without creating unnecessarily massive file sizes.
- Color Space: BT.709. Why: This is the standard for Standard Dynamic Range (SDR) video, ensuring your colors look accurate and exactly how you edited them.
Vimeo
Vimeo is known for its high-quality, creator-focused playback. To ensure your video looks pristine and processes smoothly on their platform, use these optimal export settings and exactly why they are recommended:
- Format: MP4 or MOV. Why: These are the most universally supported and reliable container formats for Vimeo’s compression system.
- Video Codec: H.264 or H.265 (HEVC). Why: H.264 provides excellent broad compatibility, while H.265 offers even better visual quality at similar file sizes, which Vimeo’s advanced player handles beautifully.
- Audio Codec: AAC-LC (at 48 kHz / 320 kbps). Why: Delivers crystal-clear, perfectly synced stereo sound that meets Vimeo’s high-fidelity audio standards.
- Resolution: Your native resolution (e.g., 1080p or 4K). Why: Uploading exactly what you shot and edited in prevents unnecessary scaling artifacts, keeping your footage as sharp as possible.
- Frame Rate: Native frame rate (e.g., 23.98, 24, 30, or 60 fps). Why: Keeping the original frame rate prevents visual stuttering and maintains the natural motion of your video. Never artificially add frames.
- Bitrate: Variable Bitrate (VBR) at 10–20 Mbps for 1080p, or 30–60 Mbps for 4K. Why: Vimeo caters heavily to filmmakers and supports slightly higher bitrates than standard platforms. This ensures less color banding and fewer compression artifacts in complex, fast-moving, or dark scenes.
- Color Space: BT.709. Why: This is the industry standard for Standard Dynamic Range (SDR), ensuring your color grading looks accurate and exactly as you intended when viewed online.
Add the videos to the Product Gallery
- Edit the product you would like to add the videos.
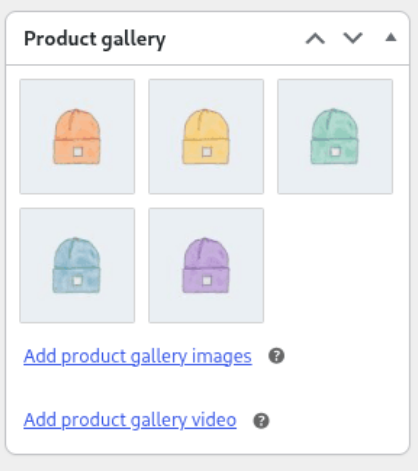
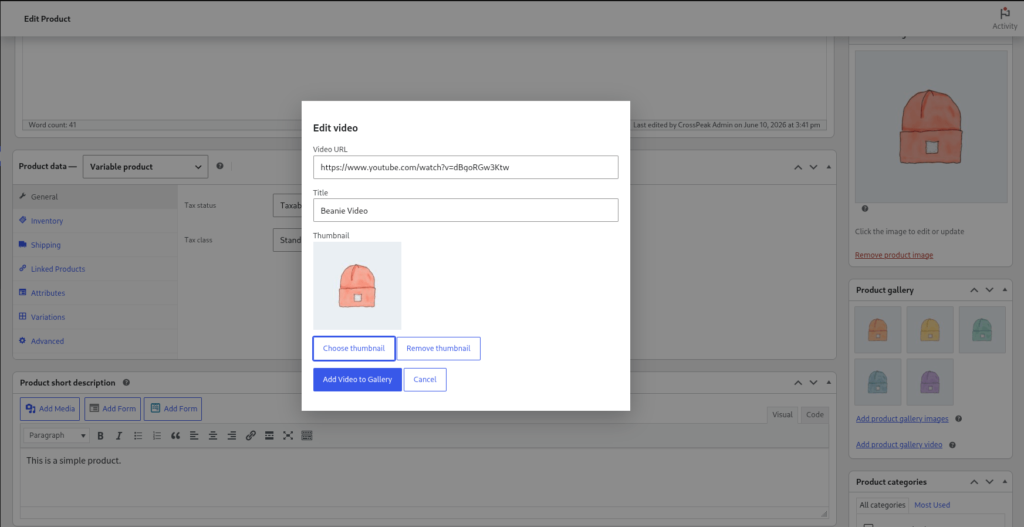
- Scroll down, locate and click on the “Add product gallery video” link.
- This will open the a window where you can enter the video URL.
- (Optional) Set a video title. If ones is not set it will be pulled from the service hosting the video.
- (Optional) Set a thumbnail for the video. If ones is not set it will be pulled from the service hosting the video.
- Click the “Add Video to Gallery” button.
- (Optional) Click and drag the video to the position you would like it to show in the gallery
- Click the “Update” button to save the product.
If you still have questions about this plugin, please contact us.