📣 Make sure you have WooCommerce installed and enabled before beginning.
Download the WooCommerce External Variable Product plugin, install and activate. It should look like this:

Now it’s time to Activate the License.
Settings
The settings for this plugin are located in the WooCommerce Product Setting when adding a variable product.
To add a variable product, create a new product or edit an existing one.
- Go to: WooCommerce > Products.
- Select the Add Product button or Edit an existing product. The Product Data displays.
- Select Variable product from the Product Data dropdown.
Add Attributes to Use for Variations
In the Attributes section, add attributes before creating variations — use global attributes that are site-wide or define custom ones specific to a product.
Global Attributes
To use a global attribute on your product:
- First create a global attribute.
- Then you can choose said global attribute from the dropdown and select Add.
- Choose Select all to add all values to the variable product (if applicable).
- Most importantly, select the Used for variations checkbox to use these for variations.
- Select Save attributes.
Custom Attributes
To add a new attribute specific to this product:
- Select Custom product attribute and click Add.
- Name the attribute (e.g., Size).
- Set values separated by a vertical pipe,
|(e.g., Small | Medium | Large). - Make sure that the Used for variations checkbox is checked. (Note: If you’re creating the first attribute for the variable product, it can also be done from the “Variations” tab. However, here the “Used for variations” checkbox will be checked and cannot be disabled.)
- Select Save attributes.
Add Variations
With attributes created and saved to add a variation, go to the Variations section in the Product data meta box.
Manually Add a Variation
- Select Add variation from the dropdown menu, and select Go.
- Select attributes for your variation. To change additional data, click the triangle icon to expand the variation.
- Edit any available data. The only required field is Regular Price.
- Select Save changes.
Creating All Possible Variations
Select Create variations from all attributes to have WooCommerce create every possible combination of variations from your attributes and their values and select Go.
Adding Variation Data
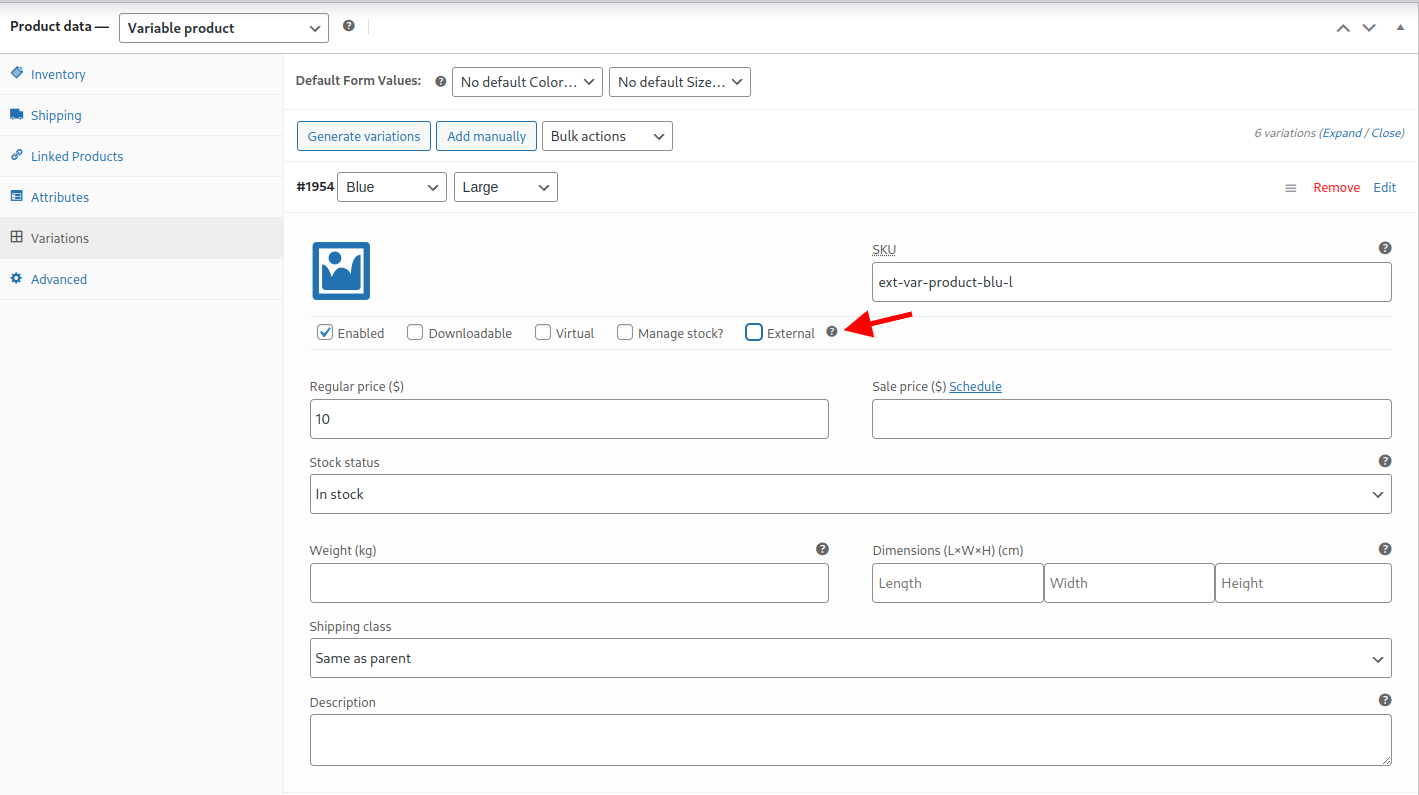
Each variation can have the following properties.
Here is where you can set the variation to be an External Product. Enabling the Variation to be External adds two new fields in the General section, the Product URL and Button text fields. The Product URL field is the destination where users can purchase this product. Then the Button text lets you change the normal Add to cart button text to your preferred text.
General
- External – Enable the variation to link to an external site to complete the sale
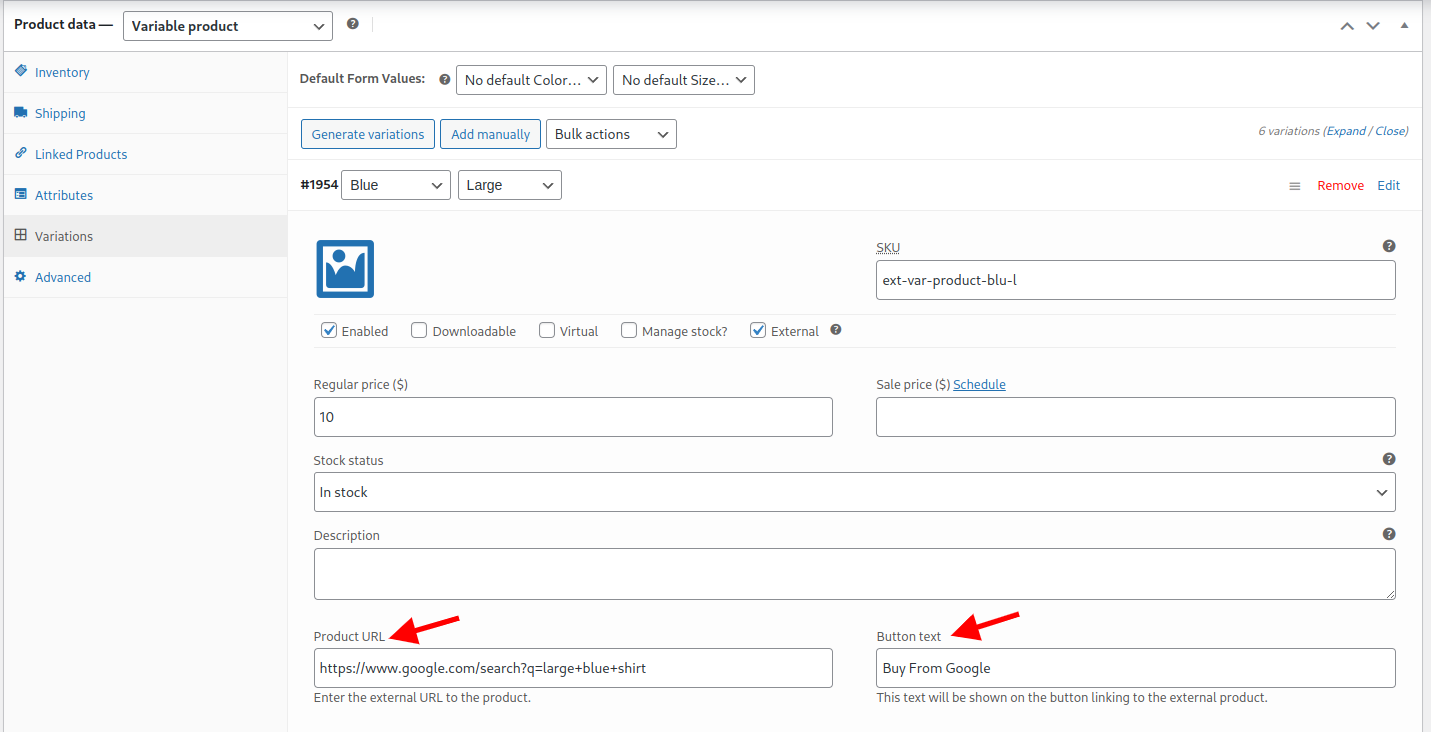
- Product URL – Is the destination where users can purchase this product
- Button text – Lets you change the normal Add to cart button text to your preferred text
Once Enabled, the Shipping fields are replaced with the Product URL and Button text fields.
You can then enter the destination where users can purchase this product and a desired button text to alert the user.
From the front end of the site, it will present as an external product with the product data set.

If you have any questions about using this plugin, feel free to contact us.